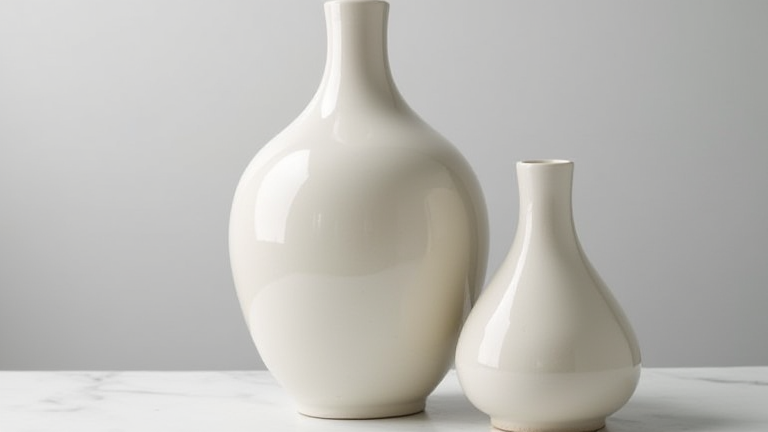
How to Make Porcelain Vases: Step-by-Step Tutorial
TL;DR: To make a porcelain vase, wedge and center fine-grained porcelain clay on a potter’s wheel, then pull up the walls using specific techniques to achieve the material’s delicate translucency. After trimming the foot and applying a glaze, the piece must be bisque fired and then high-fired at cone 10 to reach its final vitrified state.
Understanding Porcelain Clay
Porcelain is distinct from stoneware or earthenware because of its high kaolin content and low iron oxide. This composition results in a white, translucent body that requires higher firing temperatures. Before you begin, ensure your porcelain is properly wedged. Porcelain is prone to cracking if air bubbles are trapped inside. Perform a spiral wedging technique for at least twenty minutes to align the clay particles and remove all air. This consistency is crucial for maintaining the structural integrity of thin-walled vessels during the wheel throwing process.
If you want to dig deeper, check out our guide on Porcelain Vases & Health: Safe Materials and Air Quality.
Centering the Clay
Place a ball of porcelain clay onto the wheel head. Start the wheel at a slow speed and apply firm, downward pressure with both hands to center the mass. Porcelain is stiff and requires more force than plastic stoneware to center correctly. Once centered, increase the speed slightly to create a smooth, conical shape. The goal is a perfectly symmetrical base, as any deviation will be amplified as you pull up the walls. Take a break if your arms tire, as fatigue leads to wobbly centers and uneven thickness.
Opening and Pulling Walls
Open the center of the clay cone by pressing your fingers inward while the wheel spins. Create a uniform opening that serves as the base of your vase. To pull the walls, use a rib or your fingers to gently lift the clay. For a standard vase, aim for a wall thickness of approximately six to eight millimeters. Thinner walls allow more light to pass through, enhancing the porcelain’s characteristic translucency. However, if the walls are too thin, they may collapse during drying. Maintain a steady, rhythmic motion to keep the form straight and elegant.
Trimming the Foot
Allow the vase to dry to the leather-hard stage. This is when the clay is firm enough to hold its shape but still soft enough to cut. Place the vase upside down on the wheel and use trimming tools to remove excess clay from the base. Create a clean, flat foot ring that allows the vase to stand securely. Porcelain shrinks significantly during firing, so ensure your foot ring is slightly larger than desired to account for this shrinkage. A well-trimmed foot adds a professional finish and improves stability.
Drying and Firing
Let the vase dry slowly to prevent cracking. Cover it loosely with a plastic bag to slow moisture evaporation. Once bone dry, apply a thin layer of clear glaze or a colored glaze of your choice. Ensure the glaze does not cover the foot ring, as it will fuse to the kiln shelf. First, bisque fire the vase to around 1000 degrees Celsius. After glazing, fire the piece to cone 10, which is approximately 1300 degrees Celsius. This high heat vitrifies the porcelain, making it watertight, durable, and glass-like in appearance. Cool the kiln slowly to avoid thermal shock.
FAQ
Q: What is the biggest challenge when working with porcelain?
A: The primary challenge is managing its stiffness and shrinkage rate, which can lead to cracking if the clay is not wedged thoroughly or dried too quickly during the process.
Q: Can I make porcelain vases without a potter’s wheel?
A: Yes, you can use hand-building techniques like slab construction or coil building, though wheel throwing is preferred for the smooth, symmetrical shapes typical of traditional porcelain vases.
Q: Why does my porcelain vase
Leave a Reply