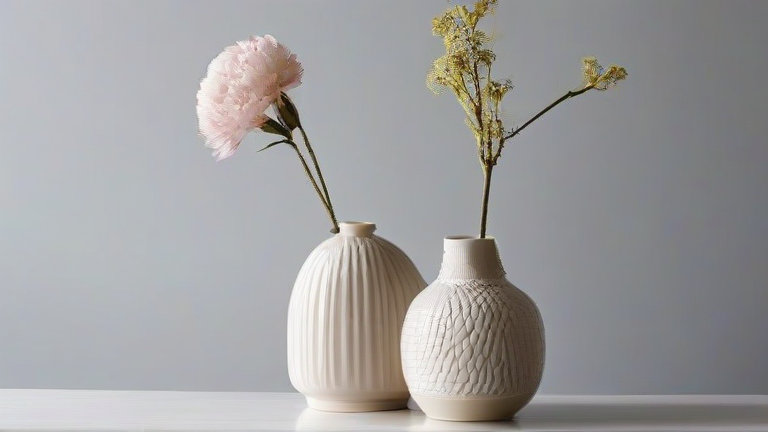
TL;DR: You can make a porcelain vase by shaping clay on a wheel or by hand, then drying, bisque-firing, glazing, and firing it again at high heat. Master the basics of wedging, centering, and controlled drying to avoid cracks and achieve that translucent, vitrified finish.
Step 1: Gather Your Porcelain Materials
Porcelain is not standard clay—it’s a mix of kaolin, feldspar, and quartz, which fires white and vitrifies at cone 10 (about 2,300°F). For beginners, use a cone 6 porcelain body (more forgiving). You’ll also need a pottery wheel, a wire cutter, a sponge, a needle tool, a rib, and a trimming tool. Set up a clean work area with a bucket of water and a bat.
If you want to dig deeper, check out our guide on Why the “Quiet Luxury” Trend Is Boosting Cashmere Sweater Sa.
Step 2: Wedge and Center the Clay
Cut off a 1–2 lb ball of porcelain and wedge it thoroughly (knead it like bread) for 5 minutes to remove air pockets. Porcelain is sticky and stiff—if it’s too dry, add a few drops of water; if too wet, let it sit on a plaster bat for 10 minutes. Throw the ball onto the wheel, wet your hands, and center it by pressing your palms firmly inward until the clay stops wobbling. This step is critical; an off-center base will cause collapse.
Step 3: Shape the Vase Body
With the wheel spinning at medium speed, open the centered clay by pressing your thumb down from the top, leaving a 1/4-inch thick base. Pull the walls upward: place one finger inside, one outside, and squeeze gently as you raise the clay. For a classic vase, flare the top outward using your knuckle. Keep the walls even—porcelain sags easily, so stop at 4–6 inches tall on your first attempt. Use a rib to smooth the exterior and remove excess water.
Step 4: Trim and Refine the Foot
Let the vase dry to “leather-hard” (cool, firm, but not brittle—about 1–2 hours under plastic). Re-center it upside down on the wheel, then use a trimming tool to carve a foot ring (a raised base) and thin the bottom to 1/4 inch. Smooth all edges with a damp sponge. Porcelain shrinks 12–15%, so make the vase slightly larger than your target size.
Step 5: Bisque Fire, Glaze, and Final Fire
Dry the vase completely (3–5 days, covered loosely with plastic). Bisque-fire it to cone 06 (about 1,830°F) to make it porous. After cooling, apply 2–3 coats of a food-safe porcelain glaze using a brush or dip, avoiding the foot. Wipe the foot clean with a wet sponge. Fire to cone 6 (about 2,230°F) for vitrification—the glassy, non-porous state. Cool slowly for 8–12 hours to prevent crazing.
Pro Tips for Beginners
Always wear a dust mask when sanding dry porcelain—the silica is toxic. If cracks appear during drying, mist the vase with water and smooth them with a finger. Never rush drying by placing it in direct sun; wrap in plastic with small air holes.
FAQ
Q: Why does my porcelain vase crack during drying?
A: Cracks happen because porcelain shrinks faster than standard clay. Prevent this by drying under plastic for the first two days, keeping the vase free of thick rims (over 1/2 inch), and compressing the base well during throwing.
Q: Can I hand-build a porcelain vase without a wheel?
A: Yes, use slab or coil techniques. Roll a 1/4-inch slab, wrap it around a cardboard tube, and score-and-slip the seams. Hand-building requires
Leave a Reply