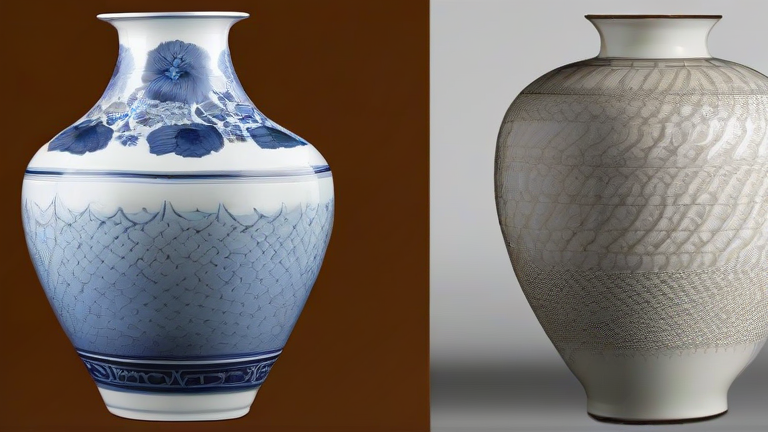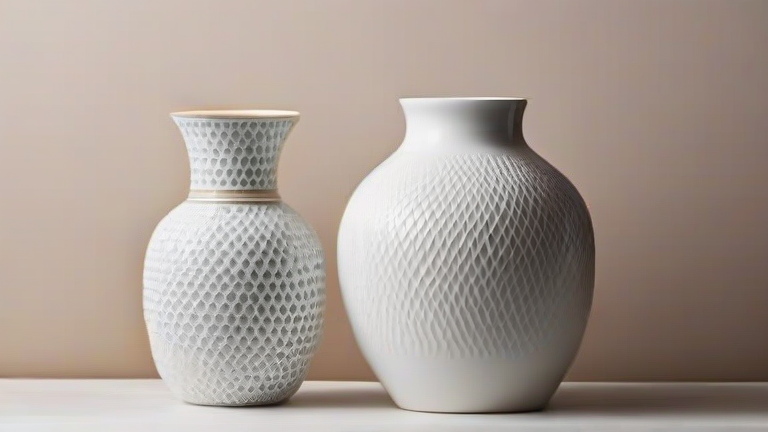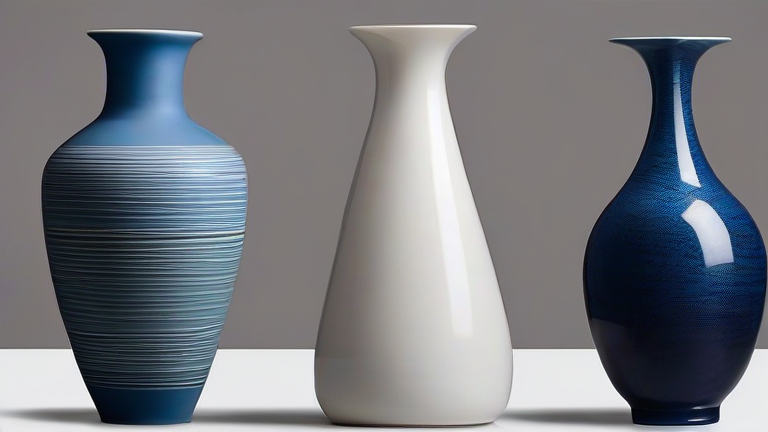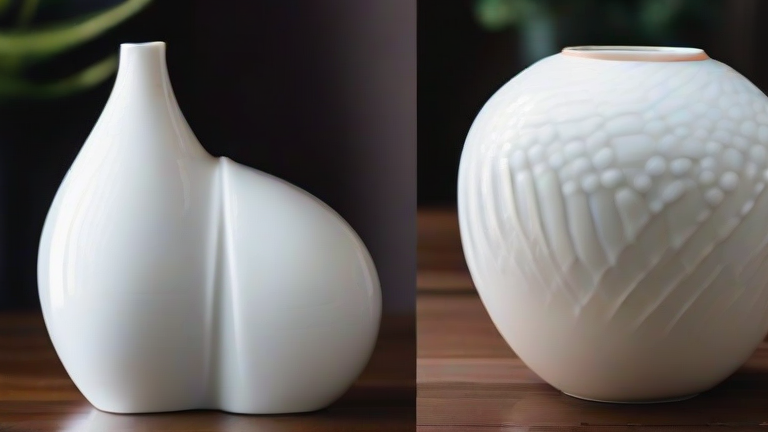
TL;DR: To glaze and fire a porcelain vase at home, you must bisque-fire the raw clay first, then apply 2–3 thin coats of glaze with a brush or dip, and finally fire to cone 6 (2232°F/1222°C) for a vitrified, waterproof finish. Success depends on matching your glaze to your clay body and controlling cooling to prevent crazing or crawling.
Step 1: Prepare Your Bisque-Fired Porcelain Vase
Your vase must be bone-dry and already bisque-fired to cone 04 (1945°F/1063°C) before glazing. Porcelain is notoriously dense, so ensure the bisque is fully porous—spray a fine mist of water on the surface; it should absorb instantly. Wipe off all dust with a damp sponge, then handle only with clean cotton gloves. Any fingerprint oil will repel glaze and cause bare spots.
If you want to dig deeper, check out our guide on Porcelain Vase Tutorial: Step-by-Step DIY Guide.
Step 2: Mix and Sieve Your Glaze
Use a commercial cone-6 porcelain glaze (e.g., a matte white or celadon) formulated for mid-fire stoneware—this matches most hobby porcelain bodies. Weigh the dry powder and water exactly per the manufacturer’s ratio (usually 1 part powder to 0.8 parts water). Mix with a drill-attached propeller for 3 minutes, then sieve through an 80-mesh screen twice to remove clumps. Let the glaze sit for 10 minutes, then test its thickness: dip a finger in; a good glaze should leave a thin, even coat that dries to a chalky finish in 30 seconds.
Step 3: Apply the Glaze — Brush or Dip
For brushing: Use a soft hake brush. Apply the first coat in long, vertical strokes, working from the bottom rim upward to avoid drips. Let dry for 15 minutes, then apply a second coat at a 90° angle (horizontal strokes). A third coat is only needed if the glaze is translucent. For dipping: Hold the vase by its footring, plunge it into the glaze for 3 seconds (count “one-thousand-one” twice), then pull out smoothly. Shake off excess and wipe a ¼-inch strip of glaze off the bottom rim—this prevents sticking to the kiln shelf. Wait 2 hours until completely dry; any damp glaze will boil during firing.
Step 4: Fire to Cone 6
Place the vase on a kiln shelf coated with kiln wash (alumina hydrate). Never place directly on bare silica. Fire in a vented electric kiln: ramp at 200°F/hour to 1800°F (982°C), then hold for 20 minutes to burn off organics. Then ramp at 150°F/hour to 2232°F (cone 6). Soak for 15 minutes at peak temperature—this melts the silica into glass. Critical tip: cool slowly at 100°F/hour down to 1500°F (816°C) to prevent dunting (cracks from thermal shock). Then allow natural cooling to room temperature (about 12 hours).
Step 5: Post-Fire Inspection & Finishing
After the kiln is below 150°F, open it and inspect. A perfect glaze should be smooth, non-porous, and free of pinholes. If you see tiny craters, your coats were too thick or you fired too fast. Use a diamond pad to grind down any sharp drip on the footring. For a polished rim, sand the unglazed foot with 400-grit wet/dry paper. Your vase is now food-safe if the glaze is certified lead-free. Never re-fire a glazed piece that has cracked—porcelain cannot be repaired, only recycled as grog.
FAQ
Q: Can I use a clear glaze over a colored underglaze on porcelain?
A: Yes, but apply the underglaze to bisque