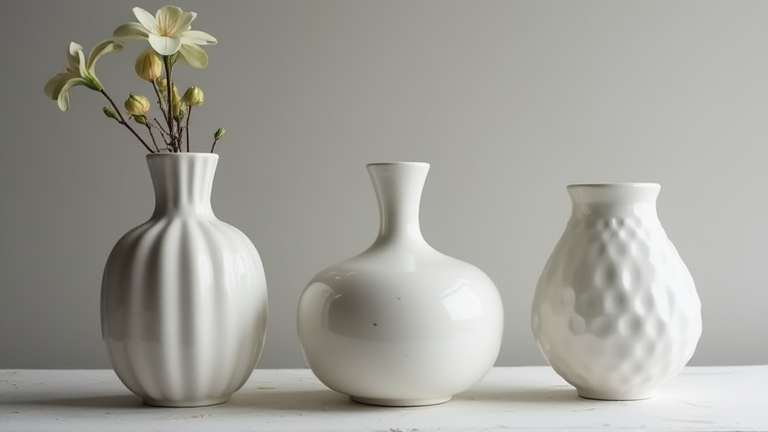
TL;DR: To make porcelain vases, you must center, pull up, and shape high-quality porcelain clay on a wheel before bisque firing and glazing. This process requires patience, precise water management, and strict temperature control to achieve the signature translucent, white finish of authentic porcelain.
Preparation and Materials
Begin by selecting a premium porcelain clay body. Unlike earthenware or stoneware, porcelain is highly refined and contains kaolin, feldspar, and quartz. It is notoriously difficult to work with because it is stiff when dry and extremely slippery when wet. Prepare your workspace by ensuring your pottery wheel is calibrated for speed. You will need a sponge with a controlled water flow, a needle tool for scoring, and a rib for smoothing. Remember that porcelain shrinks significantly more than other clays, often by twenty to twenty-five percent during firing. Therefore, your raw vase must be larger than the final desired size. Soak your clay in water for several hours to ensure uniform plasticity. If the clay is not evenly hydrated, the vase will crack during the drying process. Roll the clay into a ball the size of a large cantaloupe for a standard vase. This size provides enough mass to pull up the walls without collapsing under its own weight. Keep a bucket of clean water nearby, but avoid soaking the clay excessively, as porcelain becomes treacherously slick.
If you want to dig deeper, check out our guide on How to Clean Porcelain Vases Without Scratches.
Shaping the Vase
Center the clay firmly on the wheel head. Apply steady, downward pressure with one hand while rotating the wheel with the other. For porcelain, centering is the most critical step. If the clay is off-center, the thin walls will wobble and collapse. Once centered, poke a hole with your fingers to a depth of four inches. Use a rib to smooth the interior and exterior. Now, begin pulling up the walls. Keep your hands submerged in the clay mass and pull upwards slowly. Porcelain has very little memory, so you must support the exterior with one hand while pulling the interior with the other. The walls should be thin, aiming for a thickness of about six millimeters. Thicker walls will result in a heavy, opaque vase, defeating the purpose of porcelain. As you reach the rim, use a sponge to dampen the surface. This prevents the rim from cracking as it dries unevenly. Shape the foot of the vase by trimming the excess clay from the bottom. Ensure the foot is even and stable. Use a needle tool to score the base, which helps prevent glaze from sticking to the wheel during firing. The entire shaping process should be completed in one session to prevent the clay from drying out and becoming unworkable. Work quickly but with extreme care, as porcelain is unforgiving of mistakes.
Drying and Firing
Once shaped, the vase must dry slowly and evenly. Cover it with a plastic bag for the first few days to prevent rapid surface drying. Move it to a draft-free area. Cracking is common, so monitor the vase closely. When bone dry, bisque fire it at a low temperature, around 1800 degrees Fahrenheit. This makes the piece porous and ready for glaze. After glazing, which should be applied in a thin, even layer, fire the vase at high heat, approximately 2300 degrees Fahrenheit. This high temperature vitrifies the porcelain, making it waterproof and translucent. The result is a delicate, elegant vase that showcases the beauty of the material.
FAQ
Q: Why does my porcelain vase crack during drying?
A: Uneven drying rates cause stress. Ensure the vase is covered to slow evaporation and that the clay was thoroughly wedged to remove air bubbles before shaping.
Q: What is the ideal firing temperature for white porcelain?
A: Most white porcelain requires a high-fire temperature between 2260 and 2300 degrees Fahrenheit to achieve full vitrification and a glossy, non-porous surface.
Q: Can I use porcelain for small, thin-walled vases?
A: Yes, but it
Leave a Reply