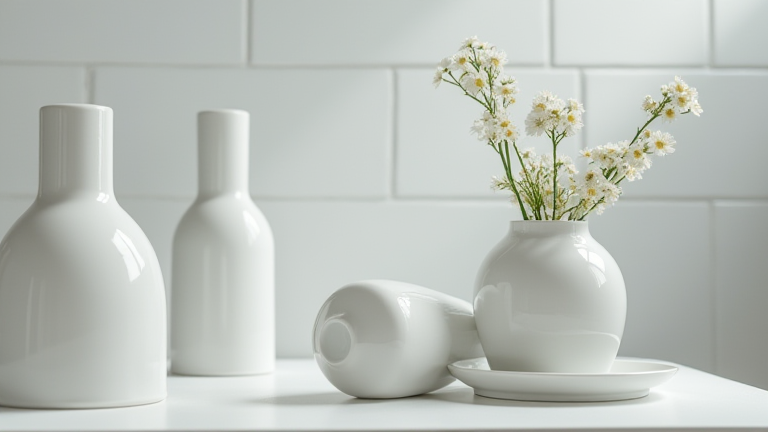
Porcelain Vase Tutorial: DIY Restoration & Care Guide
TL;DR: To restore a porcelain vase, gently clean it with mild soap, repair cracks using clear epoxy or porcelain adhesive, and apply a protective sealant. For long-term care, handle with clean hands, avoid extreme temperature changes, and dust regularly to preserve the glaze’s integrity.
Restoring a porcelain vase is a rewarding process that can revive a beautiful piece for generations. Whether you inherited a family heirloom or found a damaged gem at a thrift store, proper restoration requires patience, the right tools, and a steady hand. This guide walks you through the essential steps to bring a broken or chipped porcelain vase back to life while ensuring its longevity.
If you want to dig deeper, check out our guide on Why Solid Wood Furniture Is the Sustainable Trend Replacing .
Preparation and Cleaning
Before applying any adhesive, the vase must be thoroughly cleaned. Use lukewarm water and a mild, dish-free soap to remove dust, grease, or old adhesive residues. Grease is the enemy of adhesion, so ensure every surface is completely dry. If the vase has intricate patterns or gold leaf, avoid submerging it for long periods; instead, use a soft, damp cloth to wipe the surfaces gently. Allow the vase to air dry completely to prevent moisture from interfering with the bonding process.
Repairing Cracks and Chips
For hairline cracks, use a high-quality, clear porcelain adhesive or epoxy designed for ceramics. Apply a minimal amount directly to the crack using a toothpick or fine applicator. Press the pieces together firmly and hold them in place for the recommended time, or use small clamps or masking tape to secure the join. For larger chips or missing pieces, mix the adhesive with a small amount of white acrylic paint to match the vase’s color if it is unglazed, or use clear adhesive for glazed surfaces. Smooth out any excess adhesive immediately with a damp paper towel before it sets. If the vase is structurally unstable, consider adding a small metal bracket or internal support for durability.
Finishing and Sealing
Once the adhesive has fully cured, inspect the repair under good lighting. If there are visible seams, you can lightly sand them with very fine-grit sandpaper (600+ grit) if the vase is unglazed. For glazed porcelain, avoid sanding as it will remove the surface finish. Instead, use a color-matched ceramic paint to touch up any minor imperfections. To protect the repair and the original glaze, apply a thin coat of clear, water-based polyurethane or a specialized ceramic sealant. This adds a layer of protection against future moisture damage and UV fading.
Long-Term Care Tips
Preventative care is just as important as restoration. Always handle your vase with clean, dry hands to prevent oil buildup, which can attract dust and cause the glaze to dull over time. Avoid placing the vase in direct sunlight, as UV rays can fade painted designs and weaken adhesives. When cleaning, use a soft microfiber cloth to dust the vase rather than a dry rag, which can create static and attract more dirt. For deeper cleaning, use a soft brush to remove dust from crevices. Never use abrasive cleaners or harsh chemicals, as these can strip the glaze or damage delicate decorations. Store the vase in a stable location where it is unlikely to be knocked over, and consider using a felt pad underneath to prevent sliding on hard surfaces.
FAQ
Q: Can I use super glue on porcelain?
A: No, super glue is not recommended as it can become brittle and yellow over time. Use a specialized porcelain adhesive or flexible epoxy instead for a durable, invisible repair.
Q: How do I match the color of the repair?
A: Mix a tiny amount of acrylic paint into your clear adhesive before applying it. Test the mixture on a hidden area first to ensure the color matches the vase’s glaze closely.
Q: Is it safe to restore antique vases?
A: Yes, but proceed