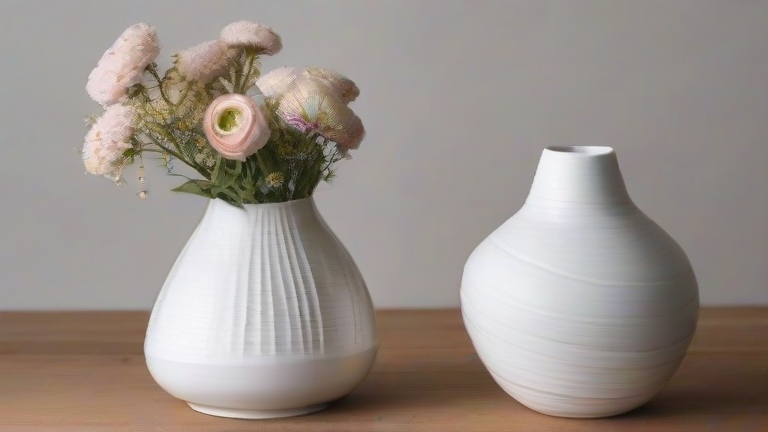
How to Make a Porcelain Vase: Step-by-Step DIY Tutorial
TL;DR: Create a porcelain vase by wedging, throwing, or hand-building porcelain clay, shaping it on a wheel or using coils, and bisque firing it before applying glaze. After glazing, perform a final high-temperature firing to achieve a durable, glossy ceramic finish.
Materials Needed
To begin your project, gather high-quality porcelain clay, a potter’s wheel or hand-building tools, sponges, rib tools, a wire cutter, and a stable workspace. You will also need access to a kiln capable of reaching high temperatures, specific porcelain glazes, and safety gear including a dust mask and apron. Ensure your workspace is well-ventilated to handle clay dust safely.
If you want to dig deeper, check out our guide on Health & Beauty: Caring for Your Porcelain Vase.
Step 1: Prepare the Clay
Start by wedging the porcelain clay thoroughly to remove air bubbles. Porcelain is particularly sensitive to air pockets, which can cause explosions during firing. Knead the clay until it feels uniform and smooth. This step is crucial for structural integrity and ensures a consistent texture throughout the vase body.
Step 2: Form the Vase Body
If using a wheel, center the clay firmly and open the center to create a cylinder. Gently pull the walls upward and outward to form the desired vase shape. Alternatively, for hand-building, create uniform coils and stack them, blending the seams with a rib tool. Maintain even wall thickness to prevent warping during drying. Use a sponge to smooth the surface and remove ridges.
Step 3: Dry and Bisque Fire
Allow the vase to dry completely at room temperature. This process can take several days depending on humidity. Once bone dry, place the piece in the kiln for a bisque firing. Set the kiln to approximately 1800 degrees Fahrenheit. This firing hardens the clay, making it porous and ready for glazing without breaking. Do not rush this drying phase to avoid cracking.
Step 4: Glaze the Vase
Apply your chosen porcelain glaze using a dipping, brushing, or pouring method. Porcelain requires specific glazes that melt at high temperatures. Ensure an even coat, paying attention to the interior and exterior. Avoid pooling glaze at the base, as this can cause the piece to fuse to the kiln shelf. Let the glaze dry fully before the next firing.
Step 5: Final Firing
Place the glazed vase in the kiln for the final glaze firing. Set the temperature between 2200 and 2300 degrees Fahrenheit, depending on your specific glaze requirements. Monitor the firing carefully. Once complete, allow the kiln to cool slowly to prevent thermal shock. Retrieve your finished, durable, and beautiful porcelain vase.
FAQ
Q: Why does porcelain require higher firing temperatures?
A: Porcelain achieves its characteristic translucency and strength through vitrification at high heat, which fuses the materials into a dense, non-porous structure.
Q: Can I use regular ceramic tools for porcelain?
A: Yes, standard pottery tools work, but porcelain is more brittle and sensitive, so handle it with extra care and use finer grit tools for smoothing.
Q: How long does the entire process take?
A: Including drying and firing times, the process typically takes one to two weeks, with most time spent waiting for the clay to dry and the kiln to cool.
Leave a Reply