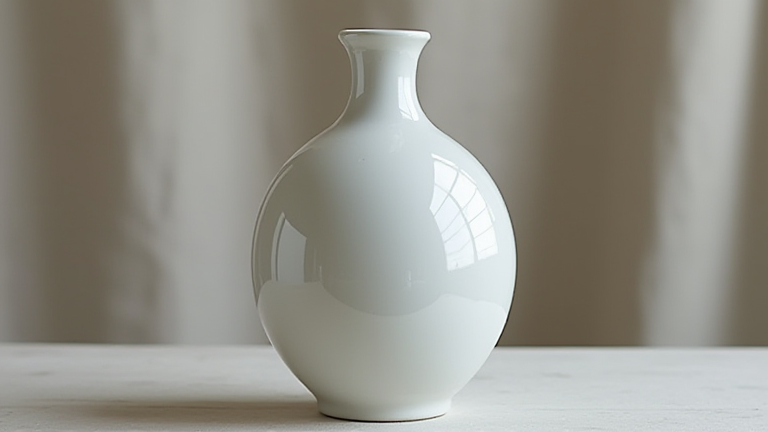
Porcelain Vase Restoration: A Step-by-Step Repair Tutorial
TL;DR: To restore a broken porcelain vase, clean all shards thoroughly and use high-strength epoxy or specialized porcelain repair adhesive to reassemble the pieces. After the adhesive cures, sand the seam smooth and apply a color-matching ceramic paint or touch-up kit to hide the repair line for a seamless finish.
Preparation and Cleaning
Before beginning any restoration work, ensure your workspace is clean, well-ventilated, and free from dust. Gather all necessary materials, including isopropyl alcohol, lint-free cloths, fine-grit sandpaper, and the appropriate adhesive. The first critical step is to clean every fragment of the vase. Use a damp cloth to remove surface dirt, then wipe each piece with isopropyl alcohol to eliminate oils and grease. This step is vital because any residual oil or dust will prevent the adhesive from bonding properly, leading to a weak repair that may fail under stress. Allow the fragments to dry completely before proceeding to the next stage.
If you want to dig deeper, check out our guide on Elevate Your Home: 7 Chic Ways to Style Porcelain Vases.
Assembling the Fragments
Once the pieces are dry, arrange them in their original configuration on a protective surface. This dry fit test allows you to identify any missing chips and ensures the alignment is correct before applying adhesive. Start with the largest sections, working your way toward smaller fragments. Apply a thin, even layer of high-strength epoxy or dedicated porcelain repair adhesive to one side of the break. Press the pieces together firmly, holding them in place for the time specified by the manufacturer. Use clamps or strong masking tape to secure the joints while the adhesive sets. Be careful not to squeeze out excess glue, as this can create visible lumps that are difficult to remove later. If a small chip is missing, fill the void with putty designed for ceramic repairs before attaching the main sections.
Finishing and Camouflage
After the adhesive has fully cured, which may take twenty-four to forty-eight hours depending on the product, inspect the seam. Use fine-grit sandpaper, typically 400-grit or higher, to gently sand down any excess adhesive or putty until the surface is flush with the rest of the vase. Wipe away all dust with a clean, damp cloth. The final step is to hide the repair line. Use a ceramic paint marker or a specialized touch-up kit that matches the original color of the porcelain. Apply the paint sparingly over the seam, blending it into the surrounding area. For glossy finishes, you may need to apply a clear ceramic glaze and cure it in an oven or use a cold-cure varnish. This step restores the aesthetic integrity of the vase, making the repair nearly invisible to the casual observer.
FAQ
Q: Can I use super glue on a porcelain vase?
A: Super glue is generally not recommended for structural repairs because it becomes brittle and yellow over time, making the repair visible and prone to failure. Use a flexible, high-strength epoxy instead.
Q: How long should I wait before using the restored vase?
A: Wait at least forty-eight hours for the adhesive to reach full strength. If using a ceramic paint finish, follow the specific drying or curing times listed on the product label before handling the vase.
Q: Is the restored vase safe for holding water?
A: Most modern epoxies are water-resistant, but they are not perfectly waterproof. It is best to use the restored vase for dry display purposes rather than as a functional flower holder to prevent potential leaks.
Leave a Reply