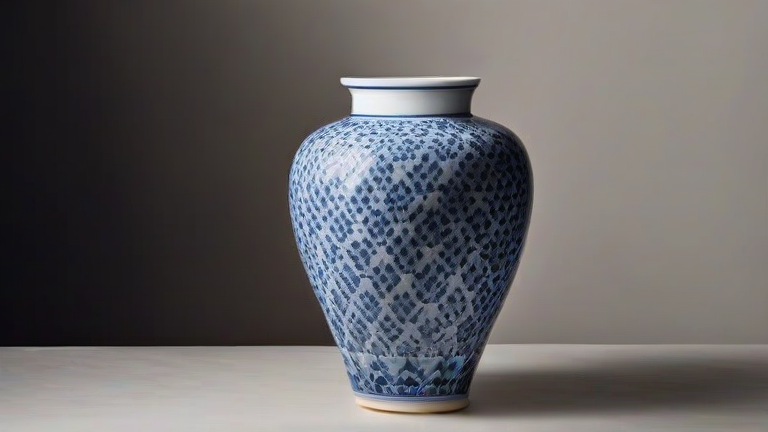
Porcelain Vase Tutorial: Step-by-Step Guide to Creating Stunning Pieces
TL;DR: Create stunning porcelain vases by mastering precise wheel throwing techniques and achieving a flawless, high-gloss finish through careful glazing. Focus on consistent wall thickness and controlled kiln firing to ensure structural integrity and aesthetic brilliance.
Preparation and Materials
Begin by selecting high-quality white or bone porcelain clay, known for its strength and translucency. Prepare your workspace by dampening the wheel head and ensuring your tools, including trimming tools, rib tools, and sponges, are within reach. Knead the clay thoroughly to remove air bubbles, which are critical for preventing explosions during the firing process. Wedging the clay ensures uniform plasticity, allowing for smooth stretching on the wheel without cracking or uneven expansion. This foundational step guarantees that your raw material is ready to transform into a delicate and durable vessel.
If you want to dig deeper, check out our guide on How to Decorate Porcelain Vases: Step-by-Step DIY Tutorial.
Throwing the Form
Center the clay ball with steady, consistent pressure to establish a stable core. Open the center slowly, pulling upwards to form the base. As you pull the walls upward, maintain a uniform thickness throughout the vessel. Porcelain is unforgiving; thin walls create lightness, but uneven thickness leads to warping. Use a wooden rib to smooth the exterior while supporting the interior with your hand. For a classic vase shape, curve the rim outward or inward depending on your desired style. Remember to keep your movements slow and deliberate, allowing the clay to relax between pulls to prevent collapse.
Trimming and Refining
Allow the vase to dry to the leather-hard stage before trimming the foot. This stage offers the perfect balance of rigidity and workability. Use a loop tool to define the base, ensuring a clean, crisp line. Remove excess clay from the bottom to reduce weight and enhance stability. Smooth all surfaces with a soft sponge to eliminate tool marks. The goal is a seamless transition from the body to the foot, creating a professional finish. Pay close attention to the rim, ensuring it is perfectly level and even, as this detail significantly impacts the overall elegance of the piece.
Glazing and Firing
Once the piece is bisque fired, apply your chosen glaze. For porcelain, translucent glazes often highlight the material’s natural whiteness and subtle blue cast. Dip or pour the glaze, ensuring even coverage without pooling in crevices. Avoid glazing the foot to prevent sticking to the kiln shelf. Fire the piece at high temperatures, typically between 1280°C and 1320°C, depending on your specific porcelain body. Monitor the kiln closely, as porcelain is sensitive to temperature fluctuations. A slow cooling rate is essential to prevent thermal shock and cracking, resulting in a pristine, glossy finish.
FAQ
Q: Why does my porcelain vase crack during the bisque firing?
A: Cracking usually results from uneven drying or air bubbles trapped in the clay. Ensure the piece is dry to the touch before firing and wedge your clay thoroughly to remove all air pockets.
Q: Can I use standard stoneware glazes on porcelain?
A: It is not recommended. Porcelain requires specific high-fire glazes designed to melt and bond at higher temperatures. Standard stoneware glazes may not adhere properly or may create unwanted surface textures.
Q: How do I achieve a thicker, more substantial vase wall?
A: Pull the clay walls less aggressively and leave more clay in the initial setup. You can also add additional clay layers to the exterior while the piece is still on the wheel, blending them smoothly to increase thickness.
Leave a Reply