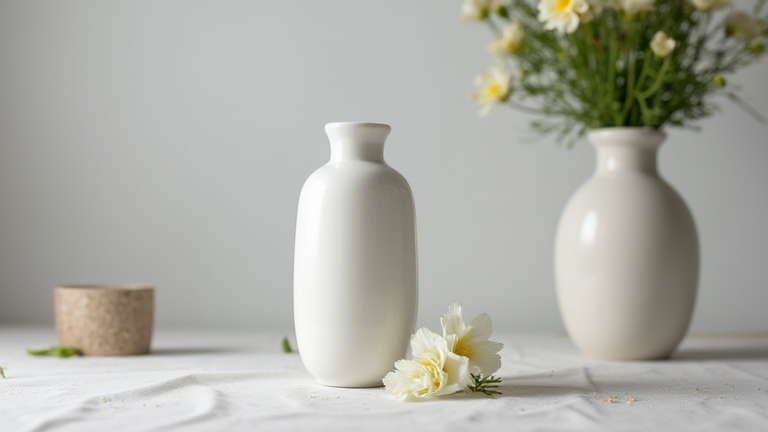
Porcelain Vase Tutorial: Step-by-Step Guide for Beginners
TL;DR: Master the art of porcelain vase creation by selecting high-quality kaolin clay, using precise wheel-throwing or hand-building techniques, and applying a smooth, glossy glaze. Focus on consistent wall thickness and careful firing schedules to achieve a durable, elegant vessel with a pristine white finish.
Understanding Porcelain Materials
Before beginning, it is crucial to understand that porcelain is not just any clay. It is a high-fire ceramic made primarily from kaolin, feldspar, and quartz. Unlike stoneware or earthenware, porcelain becomes translucent when thin enough and has a very low porosity after firing. For beginners, purchasing pre-mixed porcelain clay bodies is highly recommended to avoid the complexity of mixing raw materials. Look for a body that is described as “plastic” for ease of use, as some porcelain blends can be dry and prone to cracking if not handled with proper hydration levels.
If you want to dig deeper, check out our guide on Handcrafted Porcelain Vases: Timeless Decor for Your Home.
Preparation and Kneading
Start by weighing out your required amount of porcelain clay, typically between two to four pounds for a standard vase. Wedge the clay thoroughly using a ram’s head or spiral method. This process is non-negotiable for porcelain because it removes air bubbles that can cause explosive failures during the high-temperature kiln firing. Knead until the clay feels uniform and smooth, with no visible seams. If you are using a pottery wheel, ensure your hands are moist but not dripping wet, as porcelain dries quickly and can become sticky or difficult to center if over-wetted.
Forming the Vase
For beginners, hand-building is often more forgiving than wheel-throwing. To create a classic cylinder vase, roll out a slab of clay approximately one-eighth inch thick. Cut a square or rectangle from the slab, ensuring the edges are straight. Score and slip the edges where the clay will be joined. This involves scratching the surface with a loop tool and applying a liquid clay mixture to create a strong mechanical bond. Fold the slab into a cylinder, overlapping the edges slightly, and press them together firmly with your thumb. Use a flexible ribbon or a wet sponge to smooth the seam. If attempting wheel-throwing, center the clay carefully, pull up the walls evenly, and aim for a consistent thickness. Porcelain shrinks significantly, often up to 15 percent, so keep your walls slightly thicker than you would for stoneware to prevent collapse during drying.
Drying and Glazing
Allow the greenware vase to dry slowly. Cover it with plastic for the first 24 hours to prevent uneven drying, which causes warping. Once leather-hard, you can trim any excess clay from the base. The vase must be bone dry before the bisque firing. After the bisque, which cures the clay into a ceramic state, apply your glaze. Porcelain shines best with clear, glossy glazes that enhance its white color and translucency. Dip the vase into the glaze, ensuring an even coat, and remove it slowly to avoid trapping air bubbles. Avoid pooling glaze on the foot of the vase, as this can cause it to stick to the kiln shelf.
Firing and Finishing
Porcelain requires high temperatures, typically between 2300 and 2350 degrees Fahrenheit (cone 10). Follow your kiln’s recommended firing schedule, which usually includes a slow ramp-up to allow gases to escape and a controlled cool-down. Rushing the cooling process can cause thermal shock and crack the finished piece. Once cooled, inspect the vase for any pinholes or glaze defects. If successful, you will have a lightweight, strong, and beautifully translucent vase ready for display.
FAQ
Q: Why does my porcelain vase crack while drying?
A: This is usually caused by uneven drying or trapped air bubbles. Ensure the clay is well-wedged and cover the piece with plastic to slow down moisture loss, allowing it to dry uniformly.
<p
Leave a Reply