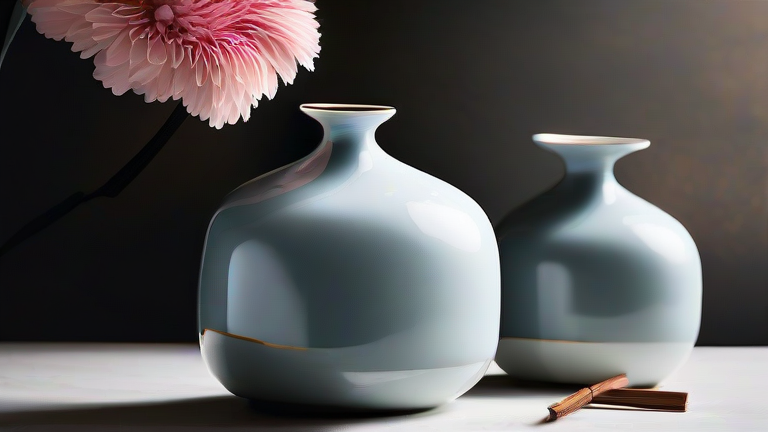
Porcelain Vase Tutorial: How to Glaze, Fire & Style Yours
TL;DR: Mastering porcelain vases requires careful glazing application followed by precise high-temperature firing to achieve a durable, glossy finish. Styling your finished piece involves balancing height, texture, and floral arrangements to create an elegant focal point in any room.
Preparation and Glazing
Begin by ensuring your bisque-fired porcelain vase is completely clean and free of dust. Use a soft brush to remove any particulate matter that could interfere with the glaze adhesion. Select a high-quality porcelain glaze suitable for high-fire ceramics, ranging from matte to high-gloss finishes. Apply the glaze using a dipping, pouring, or brushing method. Dipping is ideal for uniform coverage; submerge the vase quickly and withdraw slowly to prevent drips. Pouring glaze is better for complex shapes or multi-color designs. Brushing offers the most control for detailed patterns. Maintain a consistent thickness, typically between one and two millimeters, to avoid runs or pinholes. Allow the glazed vase to dry thoroughly in a low-humidity environment. Rushing this step can cause cracking during the firing process. Inspect the piece under good lighting to identify thin spots or bubbles. Touch up any areas that appear bare with a soft brush. Ensure the foot of the vase is unglazed to prevent sticking to the kiln shelf. This is a critical safety measure for both the piece and your equipment. Once dry, label the piece with the firing schedule you intend to use.
If you want to dig deeper, check out our guide on Porcelain Vase Tutorial: DIY Glazing & Care Guide.
Firing the Vase
Load your kiln carefully, ensuring adequate spacing between pieces to allow for proper air circulation. Use kiln wash on the shelves to provide a non-stick surface. Set your firing schedule according to the manufacturer’s recommendations for your specific glaze. Porcelain typically requires a cone ten or cone twelve firing, reaching temperatures between 1300 and 1400 degrees Celsius. Monitor the firing process closely using a pyrometer. Avoid opening the kiln until it has cooled below 200 degrees Celsius to prevent thermal shock. Allow the kiln to cool naturally over twenty-four hours. This slow cooling helps prevent crazing, which are small cracks that form in the glaze. Once cool, unload the vase and inspect it for defects. Check for pinholes, crawling glaze, or adhesion issues. If the result is satisfactory, your vase is ready for styling. If not, consider a second glaze coat and re-fire, though this is less common for porcelain due to its high firing temperatures.
Styling Your Creation
Display your porcelain vase in a location that highlights its form and glaze. Natural light enhances the translucency of thin-walled porcelain. Pair the vase with minimalist floral arrangements to let the ceramic shine. Use stems of varying heights to create visual interest without overwhelming the piece. Alternatively, display it solo as a sculptural element on a sideboard or shelf. Group multiple vases of different heights for a dynamic display. Ensure the surface is stable and level to prevent accidental tipping. Clean the vase gently with a soft, damp cloth to maintain its luster. Avoid abrasive cleaners that could scratch the glaze surface. Rotate the vase periodically if it is a one-of-a-kind piece to prevent uneven dust accumulation. Incorporate the vase into your seasonal decor by changing the floral accents. This keeps your display fresh and engaging. Your handmade porcelain vase is now a centerpiece that combines artistry with functionality.
FAQ
Q: Can I glaze a porcelain vase more than once?
A: Yes, you can apply a second glaze coat if the first was too thin or uneven, but ensure the first layer is fully fired before adding the second to maintain structural integrity.
Q: What should I do if my vase cracks during firing?
A: If the vase cracks during the glaze firing, it is generally unsalvageable as a functional piece, but you may use it as a decorative sculpture if the crack is stable and does not affect aesthetics.
<
Leave a Reply