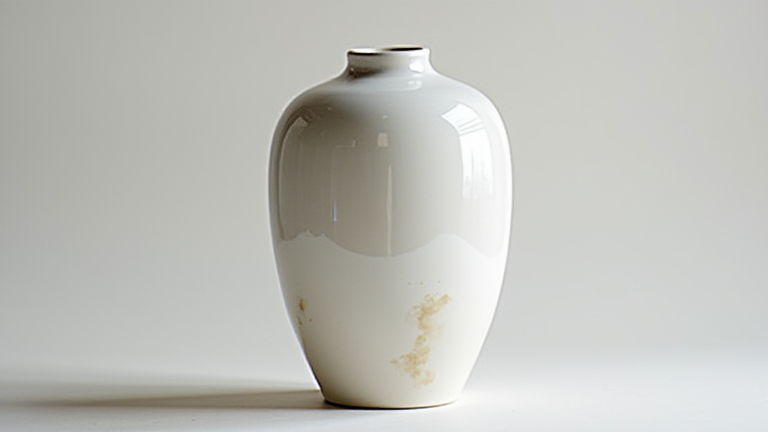
TL;DR: To glaze a porcelain vase, apply 2–3 thin coats of food-safe glaze with a soft brush, firing each layer at the cone specified by your clay body, then finish with a clear gloss or matte sealant. For care, hand-wash only with mild soap, avoid thermal shock, and dust with a microfiber cloth to preserve the glaze’s luster.
Step 1: Prepare Your Bisque-Fired Vase
Start with a clean, bone-dry bisque-fired porcelain vase (fired to cone 04–06). Wipe off all dust with a damp sponge, then let it air-dry for 24 hours. Any oils from your fingers can repel glaze, so wear cotton gloves. Inspect the surface for cracks or pinholes—fill these with a porcelain slip and re-fire before glazing.
If you want to dig deeper, check out our guide on Porcelain Vase Business Guide: Profitable Ideas & Tips.
Step 2: Mix and Strain Your Glaze
Use a commercial porcelain glaze (e.g., a satin matte or celadon) and mix it to a consistency like heavy cream. Pass it through an 80-mesh sieve to remove lumps. For a DIY glaze, combine 70% feldspar, 20% silica, and 10% kaolin, then add water. Stir for 3 minutes until no dry powder remains.
Step 3: Apply the First Coat
Pour the glaze into a tall, narrow container. Dip the vase upside-down into the glaze for 3 seconds, then pull it out slowly. Let it drip for 10 seconds, then rotate the vase 180° and dip the top half. This creates an even base layer. Alternatively, use a hake brush for a hand-painted effect—apply in one direction, never back-and-forth, to avoid brush marks.
Step 4: Layer and Decorate
Wait 15 minutes, then apply a second coat using the same method. For a textured look, use a stencil and sponge on a contrasting oxide (e.g., cobalt carbonate). Let the second coat dry to touch. Never apply a third coat if the first two are still tacky—this causes crawling. If you want a crackle effect, apply a commercial crackle glaze over a base coat, but only on the exterior.
Step 5: Fire and Cool Slowly
Place the vase in a kiln on a kiln-washed shelf, leaving 1 inch of space between pieces. Fire to cone 6 (for mid-fire porcelain) or cone 10 (high-fire), following your clay’s spec. Ramp up at 200°F/hour to 1800°F, then 300°F/hour to peak. Hold for 15 minutes. Cool naturally to 200°F before opening—rapid cooling causes crazing.
Step 6: Post-Fire Care and Sealing
Once cool, wash the vase with warm water and a soft sponge to remove kiln dust. For a non-food-safe glaze (e.g., metallic), apply a liquid clear sealant to the inside rim. Test for water-tightness by filling with water for 24 hours—if it sweats, re-fire at a low temperature.
Daily Maintenance Tips
Never use abrasive scrubbers or dishwasher detergent on glazed porcelain. Instead, rinse with lukewarm water and wipe with a microfiber cloth. To remove mineral stains from flower water, soak the interior with white vinegar for 30 minutes, then rinse. Avoid sudden temperature changes—placing a hot vase in cold water will crack the glaze. Store vases upright with a silica gel packet inside to prevent mold.
FAQ
Q: Can I use a brush-on clear glaze over a painted design?
A: Yes, but only after the painted layer is fully dry. Apply one thin coat of clear gloss (e.g., a commercial zinc-free clear) and re-fire to the same cone. This protects the design and adds a glassy finish.
Q
Leave a Reply