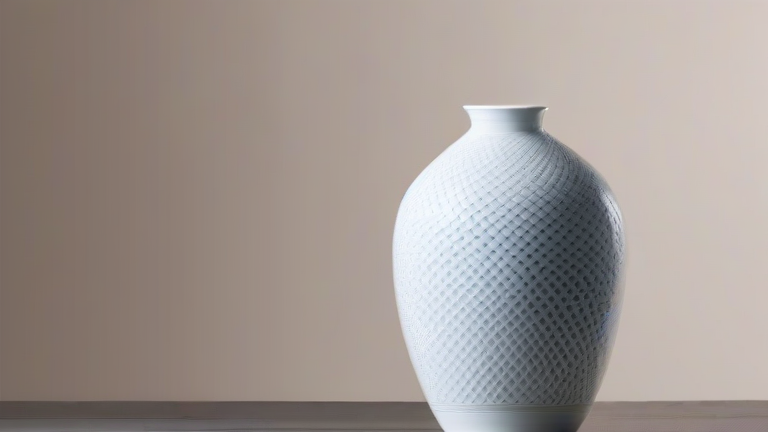
TL;DR: You can craft stunning porcelain vases at home using air-dry porcelain clay, a simple shaping technique, and a two-stage finishing process. This tutorial breaks down the entire workflow into five manageable steps, from preparing the clay to achieving a glossy, professional seal.
Porcelain Vase Tutorial: 5 Easy Steps to Craft Stunning Vases
Step 1: Prepare Your Porcelain Clay and Tools
Start with a high-quality air-dry porcelain clay (not polymer clay, which requires baking). Knead the clay for 3–5 minutes until it’s pliable and free of air bubbles. Gather your tools: a rolling pin, a sharp craft knife, a smooth glass or marble surface, a small bowl of water, and a silicone spatula. For a classic vase shape, you’ll also need a cylindrical form (like a clean glass jar) as a mold — this ensures even walls and a stable base. Tip: Keep a damp cloth over unused clay to prevent cracking.
If you want to dig deeper, check out our guide on Here are a few options, tailored to different angles:
**Ele.
Step 2: Roll and Cut the Base and Walls
Roll the clay to a uniform ¼-inch thickness. Use a circular template (a saucer works) to cut out the vase base. Then, cut a rectangular piece for the walls — the width should equal the circumference of your mold, plus ½ inch for overlap. Tip: For a fluted or ribbed effect, press a textured fabric or a ribbed rolling pin onto the wall piece before attaching it.
Step 3: Shape and Join the Vase Body
Wrap the rectangular clay piece around the outside of your glass mold, pressing the overlapping edges together. Moisten the seam with a drop of water and smooth it with your fingertip until invisible. Attach the base by scoring both the bottom edge of the walls and the base circle with a fork, then pressing them together. Gently lift the mold out after 10 minutes — the clay should hold its shape. Tip: If the walls sag, let the vase rest for 30 minutes before removing the mold.
Step 4: Refine the Neck and Rim
While the vase is still slightly soft, shape the neck by pinching the top edge inward with your thumb and forefinger, working around the circumference. For a flared rim, gently pull the top outward. Use a damp sponge to smooth any fingerprints or tool marks. For a decorative lip, roll a thin coil of clay and press it onto the rim, then blend the seam. Tip: Let the vase dry completely (24–48 hours) on a wire rack to allow even airflow — this prevents moisture from pooling at the base.
Step 5: Sand, Seal, and Polish
Once fully dry, sand the entire surface with fine-grit (400) sandpaper. Wipe off dust with a dry cloth. Apply a porcelain-specific sealer or a high-gloss acrylic varnish using a soft brush — two thin coats are better than one thick coat. For a matte finish, use a matte ceramic sealant. Allow 2 hours between coats. Tip: For a hand-painted look, apply underglaze paints before sealing, then finish with a clear topcoat. Your vase is now waterproof and ready for fresh or dried flowers.
FAQ
Q: Can I use this tutorial for real kiln-fired porcelain?
A: No — this guide is for air-dry porcelain clay, which cures at room temperature. Kiln-fired porcelain requires a pottery wheel, a kiln, and glaze firing at over 2,000°F, which is a completely different process. If you want to fire your vase, use kiln-specific porcelain clay and follow a separate ceramic firing guide.
Q: How do I prevent my vase from cracking while drying?
A: Cracks usually occur from uneven drying or attaching pieces that are too dry. Always keep the clay moist during assembly, and dry the vase slowly under a loose plastic wrap for the first 12 hours. Additionally, avoid placing it near direct heat or
Leave a Reply