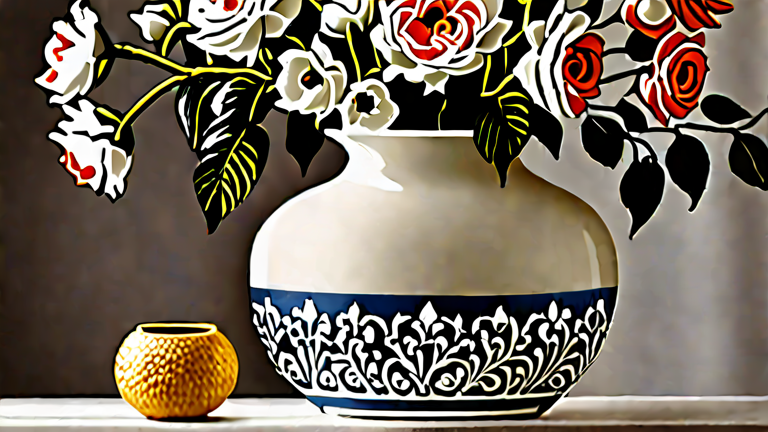
Porcelain Vase Tutorial: Step-by-Step Guide to Painting & Care
TL;DR: To paint a porcelain vase, prepare the surface with sanding and degreasing, apply specialized porcelain paint in thin layers, and cure it in an oven at the specified temperature. For care, wash gently with mild soap and avoid harsh abrasives to preserve the painted finish.
Transforming a plain porcelain vase into a unique piece of art is a rewarding project that allows for endless creative expression. Porcelain is a delicate yet durable material, making it perfect for intricate designs. However, because it is non-porous, standard acrylics or oils will not adhere properly without the right preparation and curing process. This guide walks you through the essential steps to achieve a professional-looking result that lasts for years. Before you begin, ensure your workspace is well-ventilated and clean, as porcelain painting involves small particles and strong fumes from the curing process.
If you want to dig deeper, check out our guide on How to Keep Porcelain Vases Clean, Safe, and Healthy.
Preparation and Priming
The foundation of a successful paint job is proper surface preparation. Start by washing your porcelain vase with warm water and a grease-cutting dish soap to remove any factory oils or dust. Dry it thoroughly. Next, lightly sand the entire surface using 400-grit sandpaper. This step is crucial because it creates a microscopic texture that helps the paint adhere to the smooth, glazed surface. Wipe away all sanding dust with a tack cloth or a damp lint-free rag. If your vase is heavily glazed, consider applying a specialized porcelain primer. This adds an extra layer of adhesion, especially for dark-colored paints or metallic finishes. Allow the primer to dry completely according to the manufacturer’s instructions before proceeding.
Painting Techniques
Once the surface is prepped, it is time to paint. Use high-quality porcelain paint or underglaze, which is designed to withstand high temperatures. Apply your design using fine-tipped brushes for detailed work and larger flat brushes for broad strokes. Work in small sections to prevent the paint from drying too quickly, which can lead to cracking. If you are using water-based porcelain paint, apply thin, even coats rather than one thick layer. Thick coats are prone to peeling during the firing process. Allow each coat to dry completely before applying the next. You can use stencils for geometric patterns or freehand for organic shapes. Remember that colors may look lighter when wet, so test a small, hidden area first to gauge the final shade. If you make a mistake, you can usually wipe it away with a damp cloth while the paint is still wet.
Curing and Firing
The curing process is what makes the paint permanent. Most water-based porcelain paints require heat to bond with the vase. Check the specific temperature requirements for your chosen brand, but generally, this involves baking the vase in a home oven. Preheat your oven to the recommended temperature, usually between 275 and 325 degrees Fahrenheit. Place the vase on a baking sheet lined with aluminum foil to catch any potential drips. Bake for the specified time, typically 30 to 45 minutes. Do not open the oven door while it is heating or cooling, as rapid temperature changes can cause thermal shock and crack the porcelain. Let the vase cool down completely inside the oven before removing it. This slow cooling process is essential for the paint to set properly.
Care and Maintenance
Proper care ensures your painted vase remains beautiful for decades. After curing, the surface is durable, but it is still not indestructible. Avoid using abrasive sponges or harsh chemical cleaners that can scratch or degrade the paint. Instead, use a soft cloth and mild dish soap with warm water. Dry the vase immediately with a soft towel to prevent water spots. If you are using the vase for flowers, ensure the water does not sit for too long, as moisture can sometimes seep into microscopic pores over time. Store the vase in a dust-free environment when not in use. By following these simple maintenance steps, you can preserve the vibrancy of your artwork and enjoy your unique creation for years to come.