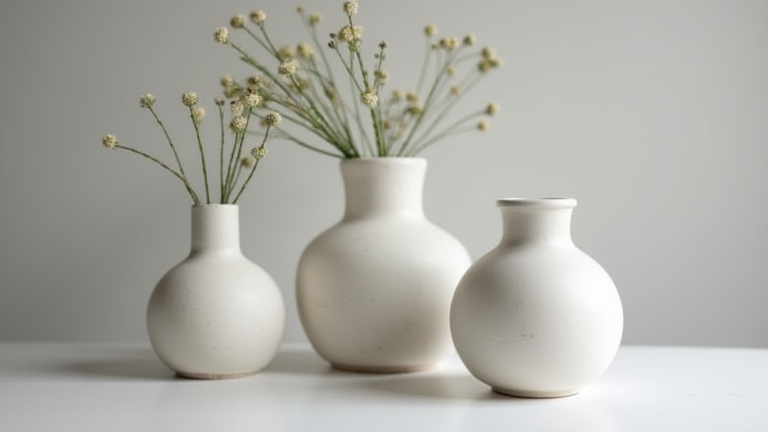
TL;DR: Create elegant porcelain vases by sculpting thin, refined clay bodies and firing them to high temperatures for a translucent, glass-like finish. Mastering the balance between delicate wall thickness and structural integrity is key to achieving that signature porcelain aesthetic.
Materials and Preparation
Begin by sourcing a high-quality porcelain clay body, known for its fine particle size and white color when fired. Prepare your workspace by covering surfaces with canvas and ensuring you have access to a kiln capable of reaching cone 10 temperatures. Knead the clay thoroughly to remove air bubbles, which can cause explosions during the firing process. Porcelain is more plastic than earthenware but requires careful handling to prevent cracking. Keep the clay moist but not overly wet, as it dries out faster due to its fine texture.
If you want to dig deeper, check out our guide on 7 Shopify App Integrations That Boost B2B Sales.
Sculpting the Vase
Roll the porcelain into a uniform cylinder, aiming for walls no thicker than a quarter of an inch. Thinner walls are essential for the characteristic translucency of porcelain. Use rib tools and sponges to refine the shape, creating smooth curves or sharp angles depending on your design. For a classic look, taper the neck slightly narrower than the base for stability. If you are hand-building, ensure that seams are blended seamlessly using slip and a soft finger. Remember that porcelain shrinks significantly during drying and firing, so account for this shrinkage in your final dimensions.
Drying and Bisque Firing
Allow the vase to dry slowly and evenly. Cover it with a plastic bag to prevent rapid moisture loss, which can lead to warping or cracking. Once bone dry, place the piece in the kiln for a bisque firing. This initial firing removes chemical water and makes the piece porous, ready to absorb glaze. Bisque firing porcelain is tricky; heat it slowly to avoid thermal shock. Aim for a temperature around cone 06 to 04, ensuring the piece is sturdy enough to handle but not yet glazed.
Glazing and Final Firing
Apply a clear or colored glaze suitable for high-fire porcelain. Dipping is often the best method for an even coat. Avoid pooling glaze at the base to prevent it from fusing to the kiln shelf. Use kiln wash on the bottom of the vase. Fire the glazed vase to cone 10, which is approximately 2345 degrees Fahrenheit. This high temperature vitrifies the porcelain, making it non-porous and incredibly strong. Let the kiln cool completely before removing the piece. The result is a durable, luminous vase perfect for display or functional use.
FAQ
Q: Can I make porcelain vases without a kiln?
A: No, true porcelain requires high-temperature firing to achieve its hard, translucent properties, which cannot be replicated in a home oven.
Q: Why does my porcelain vase crack during firing?
A: Cracking usually results from uneven drying, air bubbles trapped in the clay, or firing the kiln too quickly without proper preheating.
Q: What is the best glaze for porcelain vases?
A: Clear high-fire glazes are popular for showing the white body, but any glaze rated for cone 10 firing will work well with porcelain.
Leave a Reply