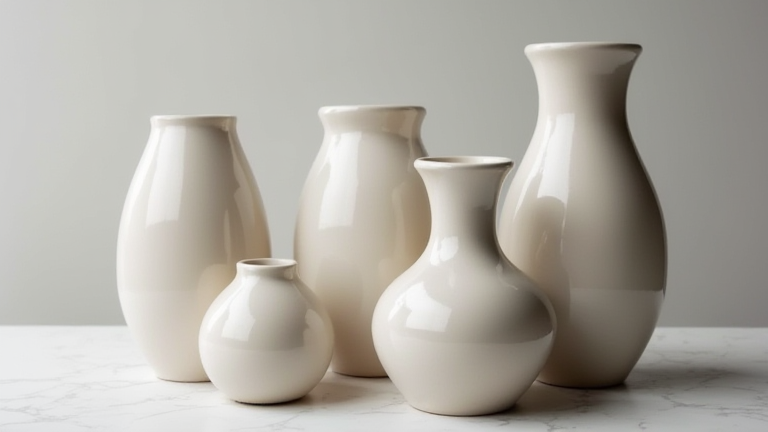
TL;DR: To make a porcelain vase, you must prepare high-fire porcelain clay, shape it using throwing or hand-building techniques, and bisque fire it at high temperatures. The final result is a translucent, durable vessel that requires glazing and a second firing to achieve its signature glossy finish.
Understanding Porcelain Materials
Porcelain, also known as china, is distinct from other clays due to its fine grain and high firing temperature requirements. Unlike stoneware or earthenware, porcelain becomes translucent when thin and white when fully fired. For beginners, choose a commercial porcelain body that is specifically formulated for hand-building or wheel throwing, as these are more forgiving than raw kaolin mixtures. Ensure your clay is well-wedged to remove air bubbles, which can cause explosions in the kiln. The plasticity of porcelain is lower than other clays, so it requires a steady hand and patience to prevent cracking during the shaping process.
If you want to dig deeper, check out our guide on Top 10 Trending Tech Gadgets That Are Breaking the Internet.
Shaping the Vase
You can create a porcelain vase using wheel throwing or hand-building methods. For wheel throwing, center the clay carefully, as porcelain is slippery and moves easily. Open the walls slowly and evenly to maintain consistent thickness, aiming for a thin profile to maximize translucency. If hand-building, use the slab construction method. Roll out uniform slabs of clay and assemble them using slip, which is a liquid mixture of clay and water. Reinforce the corners and seams with additional clay strips to ensure structural integrity. Sculpt the desired form, whether it is a simple cylinder, a flared bowl shape, or an organic, asymmetrical design. Remember that porcelain shrinks significantly during firing, so account for this shrinkage in your initial measurements. Smooth all surfaces with a damp sponge and a rib tool to create a refined finish before the piece dries.
Drying and Bisque Firing
Proper drying is critical to prevent cracking. Allow the vase to dry slowly and evenly in a shaded area. Cover the piece loosely with plastic to slow down the evaporation rate, especially if the environment is dry or heated. Once the vase is bone dry, it is ready for the bisque firing. Set your kiln to a cone 04 or 06 range, which is approximately 1945 degrees Fahrenheit. This initial firing transforms the clay into ceramic, making it porous and ready to absorb glaze. Do not rush this stage, as uneven drying is the leading cause of failed porcelain projects. After the bisque fire, allow the kiln to cool completely before removing your fragile, unglazed vase.
Glazing and Final Firing
Glazing is where the artistic vision comes to life. Porcelain accepts a wide variety of glazes, but high-fired glazes are essential for compatibility. Apply the glaze using dipping, brushing, or pouring techniques. Dipping is often preferred for porcelain vases as it ensures an even coat, but be careful of the interior glaze pooling at the bottom, which can create defects. Clean the foot of the vase to prevent it from sticking to the kiln shelf. For the final glaze firing, set the kiln to cone 6 or higher, around 2345 degrees Fahrenheit. This high heat vitrifies the porcelain, making it waterproof and durable. The result is a smooth, glass-like surface that highlights the delicate white body of the vase. Allow the kiln to cool slowly to prevent thermal shock, then remove your finished masterpiece.
FAQ
Q: Why does my porcelain vase crack during firing?
A: Cracking is usually caused by uneven drying or trapped air bubbles. Ensure the vase dries slowly and wedge your clay thoroughly to remove air pockets before shaping.
Q: Can I use low-fire glazes on porcelain?
A: No, you should use high-fire glazes that are compatible with the porcelain body. Low-fire glazes will not bond correctly and may peel off over time due to thermal expansion differences.
Q: How do I achieve the translucent look?
A
Leave a Reply