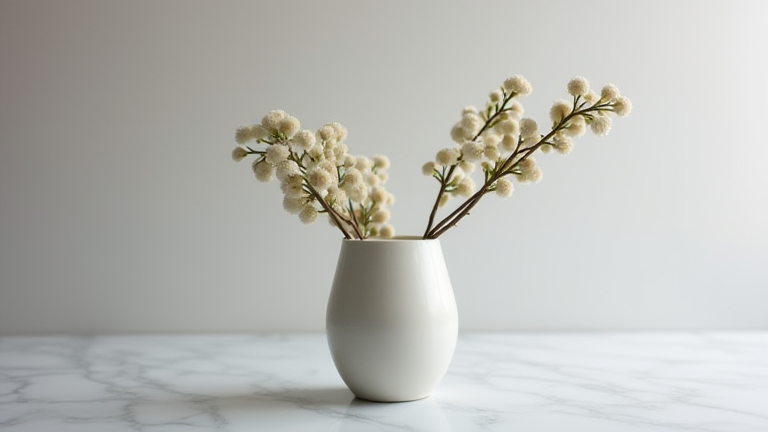
TL;DR: Creating a porcelain vase requires mixing kaolin clay, shaping it using the coil or slab method, and bisque firing it before applying glazes. The final step involves a high-temperature glaze firing to achieve a durable, glossy finish.
Step-by-Step Instructions
Begin by gathering high-quality kaolin clay, which is the primary ingredient for true porcelain. Knead the clay thoroughly to remove any air bubbles that could cause explosions during firing. Prepare your workspace with a smooth, non-stick surface and have tools like ribbons, sponges, and a wire cutter ready. If you choose the coil method, roll out long, consistent ropes of clay. Place a base coil on your wheel or board and stack additional coils vertically, blending each new coil into the previous one with a wooden rib to ensure structural integrity. For the slab method, press clay into a uniform sheet and cut out your desired vase shape. Score and slip the edges where pieces will join to create a strong bond. Shape the walls gently, ensuring they taper slightly outward for stability and aesthetic appeal. Smooth the surface with a damp sponge, removing any ridges or fingerprints left by your tools. Allow the vase to dry slowly and evenly for at least three to five days, covering it with plastic to prevent rapid drying that causes warping. Once bone dry, the piece is ready for its first firing.
If you want to dig deeper, check out our guide on Why Solid Wood Furniture Is the Sustainable Trend Replacing .
Take the leather-hard or bone-dry vase to a kiln for a bisque firing. This initial firing, usually around 1000 degrees Celsius, removes remaining moisture and makes the clay porous enough to absorb glaze. After the kiln cools, prepare your glaze. Porcelain requires specific high-fire glazes that melt at temperatures between 1250 and 1300 degrees Celsius. Dip or brush the glaze onto the vase, ensuring even coverage without pooling at the bottom, which can cause it to fuse to the kiln shelf. Allow the glazed vase to dry completely before placing it back in the kiln. Fire the piece to the appropriate glaze temperature and let it cool slowly in the kiln. This final firing vitrifies the clay, making the vase watertight and giving it the characteristic porcelain translucency and ring tone.
Pro Tips
Always test your glaze on a small sample tile before applying it to your finished vase to check for compatibility and color results. Use a kiln wash on your shelves to prevent glazed pieces from sticking. Handle the vase with extreme care during the bisque stage, as it is still fragile. For a more organic look, leave some areas unglazed to reveal the white porcelain body, creating a beautiful contrast with the glazed sections. Remember that porcelain is fired at very high temperatures, so ensure your kiln is rated for this purpose to avoid damaging your equipment.
FAQ
Q: Can I fire porcelain in a standard ceramic kiln?
A: No, standard ceramic kilns typically max out at lower temperatures. You need a high-temperature kiln capable of reaching 1250C or higher for true porcelain firing.
Q: How do I prevent my vase from cracking during firing?
A: Ensure the clay is dried slowly and evenly before bisque firing. Rapid drying causes internal stress. Also, remove all air bubbles during the kneading stage.
Q: What is the best glaze for white porcelain?
A: Clear or transparent glazes work best to highlight the white body. You can also use colored glazes, but they must be formulated for high-fire porcelain to avoid flashing or crazing.
Leave a Reply