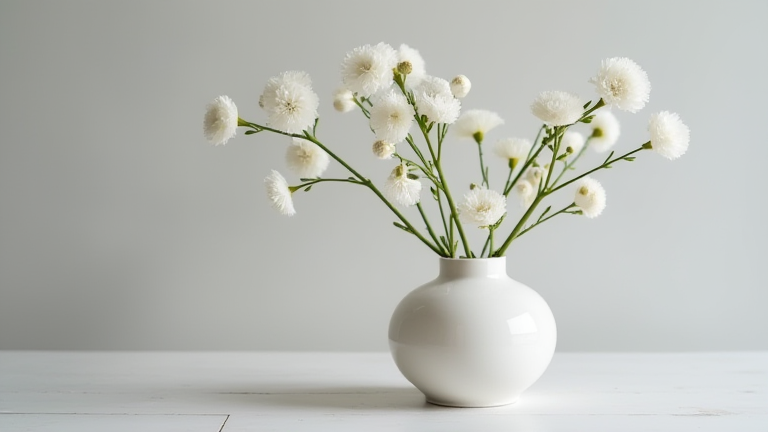
TL;DR: You can create a simple, elegant porcelain vase at home using air-dry porcelain clay, a rolling pin, and a few basic shaping tools. This guide walks you through forming, drying, and finishing a small bud vase without needing a kiln.
Materials & Preparation
Before you begin, gather: 1 lb of air-dry porcelain clay (white, fine-grained), a rolling pin, a smooth work surface (glass or acrylic), a ruler, a plastic knife, a small bowl of water, a sponge, and a soft brush. Avoid standard earthenware clay—porcelain’s high feldspar content gives that translucent, glassy finish when dry. Work in a dust-free room, and keep a damp cloth over unused clay to prevent cracking.
If you want to dig deeper, check out our guide on Top Porcelain Vase Businesses: Market Trends & Sourcing Guid.
Step 1: Wedge and Roll the Clay
Knead the clay for 3–5 minutes until it’s pliable and free of air bubbles. Flatten it into a disc, then roll it out to an even ¼-inch thickness. Use two wooden dowels as guides on either side of the clay to ensure uniform thickness. If the clay sticks, dust your surface lightly with cornstarch—do not use water, as it makes porcelain sticky.
Step 2: Cut and Shape the Base
Using a plastic knife, cut a rectangle 6 inches wide by 8 inches tall. This will be your vase body. For a classic cylinder, wrap the rectangle around a cardboard tube (e.g., from paper towels) that’s 3 inches in diameter. Overlap the edges by ½ inch and press them together with your fingers, moistening the seam with a damp sponge. Smooth the seam with a rib tool or your fingertip. Remove the tube immediately—air-dry porcelain shrinks as it dries, and the tube will trap moisture.
Step 3: Form the Neck and Lip
Gently pinch the top 1 inch of the cylinder inward to create a narrow neck. Work slowly, rotating the vase, to avoid collapsing the walls. For a flared lip, roll a small coil of clay (¼ inch thick) and attach it to the rim using a slip (water mixed with clay scraps). Press the coil onto the rim, then blend the edges with a wet finger. Let the vase sit upright for 30 minutes until leather-hard—firm but slightly cool to the touch.
Step 4: Smooth and Refine
Once leather-hard, use a damp sponge to wipe the entire surface, removing fingerprints and tool marks. For a polished finish, rub the vase with a soft, dry cloth. If you want a textured or fluted design, press a ribbed tool vertically along the body—but do this before the clay hardens. Check the bottom for any cracks; repair them with an extra smear of clay.
Step 5: Dry and Finish
Place the vase on a wire rack in a cool, dry area away from direct sunlight. Dry for 48–72 hours, turning it once daily. Porcelain dries slower than other clays—rushing with a hairdryer causes warping. Once fully dry (no cool spots on the surface), sand any rough edges with fine-grit sandpaper. Seal with a water-based acrylic sealer or clear matte varnish for a porcelain sheen. Do not put water inside unless sealed thoroughly; air-dry porcelain is not fully waterproof.
FAQ
Q: Can I use this vase for fresh flowers with water?
A: Yes, but only if you apply 2–3 coats of a waterproof ceramic sealer inside and out. Even then, avoid leaving water standing for more than 24 hours, as air-dry porcelain can soften over time.
Q: How do I prevent the clay from cracking during drying?
A: Dry it very slowly—cover loosely with a plastic bag for the first 24 hours, then remove the bag and let it air-dry. Also, ensure
Leave a Reply