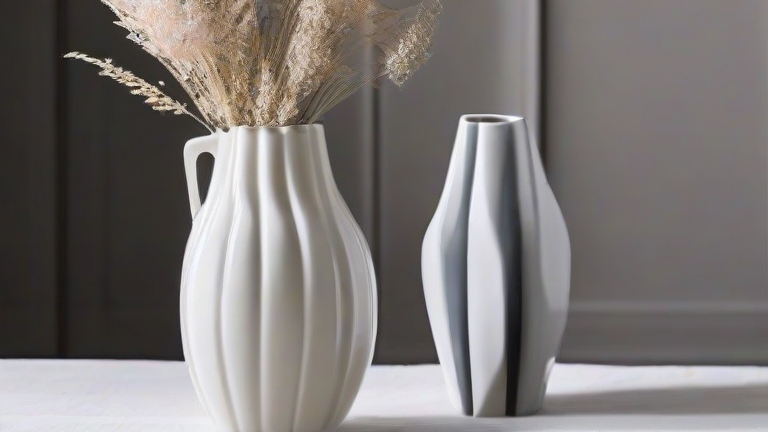
TL;DR: You can create a stunning porcelain vase at home using air-dry porcelain clay, shaping it by hand or on a potter’s wheel, then sanding and sealing it for a ceramic finish. This guide covers forming, drying, and finishing without needing a kiln.
DIY Porcelain Vase Tutorial: Step-by-Step Guide
Step 1: Gather Your Supplies
You’ll need air-dry porcelain clay (white, fine-grained), a rolling pin, a small bowl of water, a smooth work surface, a clay rib or plastic scraper, a needle tool or toothpick, fine-grit sandpaper (400 and 800), and a non-toxic acrylic sealer or porcelain glaze substitute. Avoid standard earthenware clay—it won’t achieve that translucent, refined porcelain look.
If you want to dig deeper, check out our guide on Porcelain Vase Health Risks: Lead, Glazes & Safe Home Decor.
Step 2: Wedge and Roll the Clay
Knead the clay for 2–3 minutes to remove air bubbles. Roll it into a slab about ¼-inch thick. For a vase, you can either use a simple pinch-pot method or wrap the slab around a sturdy cardboard tube (e.g., from paper towels). If using the tube, coat it with a thin layer of cornstarch to prevent sticking.
Step 3: Shape the Body
For a hand-built vase, form a ball of clay and press your thumb into the center, slowly pinching outward to create walls. Keep the walls even—about ⅛ inch thick for light transmission. For a cylinder, wrap the slab around the tube, overlapping the edges, and blend the seam with water and your finger. Smooth the outside using a wet rib, then let it firm up for 20 minutes.
Step 4: Create the Neck and Foot
Once the body holds its shape, roll a separate coil of clay for the neck. Attach it by scoring (crosshatching) both surfaces, applying water, and pressing together. For a foot ring, roll a thin coil and attach it to the base, or simply carve a recessed base with a needle tool. Let the vase dry slowly—cover with plastic wrap for 24 hours, then uncover for another 48 hours, until completely bone-dry.
Step 5: Sand and Refine
Once dry, use 400-grit sandpaper to smooth any rough edges, then 800-grit for a silky feel. Wipe off dust with a damp cloth. If you want a raised design, add slip (clay mixed with water to a paste) using a fine-tip bottle before sanding.
Step 6: Seal and Finish
Apply two thin coats of acrylic sealer or a dedicated air-dry porcelain glaze, letting each coat dry thoroughly. This gives a subtle sheen and waterproofs the vase. For a matte look, use a matte varnish. Do not put fresh flowers directly into water—use a glass insert to protect the interior.
FAQ
Q: Can I use this vase for real flowers with water?
A: No, air-dry porcelain is not waterproof. Always place a sealed glass or plastic tube inside to hold water, or use dried flowers.
Q: How long does the clay take to dry completely?
A: Typically 3–5 days depending on humidity and wall thickness. Never speed-dry with a heater—it causes cracking.
Q: Can I paint the vase after sealing?
A: Yes, use acrylic paints designed for ceramics after the first sealer coat, then apply a final sealer over the paint to protect it.
Leave a Reply