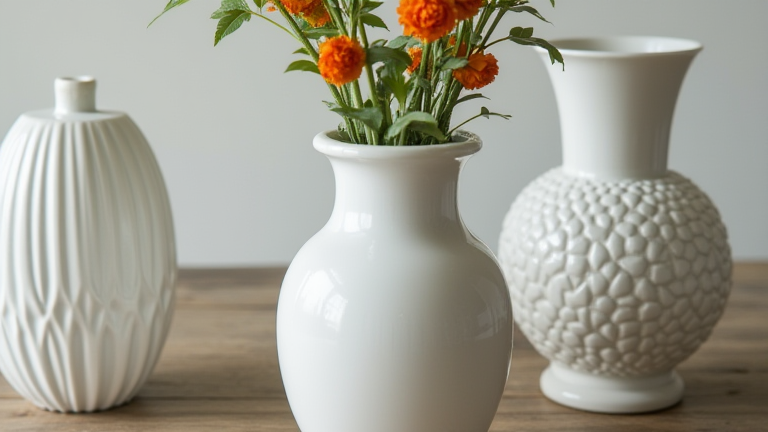
TL;DR: To restore a porcelain vase, clean the surface thoroughly, fill cracks with epoxy or ceramic filler, and sand the repairs smooth before applying a clear sealant. For minor chips, use specific porcelain touch-up kits to blend the color and texture seamlessly.
Understanding the Damage
Before beginning any restoration work on a porcelain vase, you must assess the extent of the damage. Porcelain is a non-porous, glass-like material that does not behave like clay or ceramic. This distinction is crucial because standard ceramic fillers may not bond correctly to the smooth, glazed surface of a high-quality porcelain vase. Identify whether you are dealing with hairline cracks, larger fissures, or missing pieces. Hairline cracks are often structural and require careful stabilization, while chips are cosmetic but can affect the overall aesthetic. Always handle the vase with clean cotton gloves to prevent fingerprints and oils from interfering with the adhesive bonding process. If the vase has historical value, consult a professional conservator before attempting a DIY repair, as incorrect methods can permanently reduce its value.
If you want to dig deeper, check out our guide on Top 10 Porcelain Vases: Timeless Elegance & Expert Buying Gu.
Gathering Materials
You need specific supplies to achieve a professional finish. High-quality two-part epoxy resin is the standard for structural repairs because it cures hard and transparent. For surface-level chips, a porcelain repair kit containing filler putty and color pigments is essential. You will also need fine-grit sandpaper in various grades, typically starting at 400 grit and moving up to 2000 grit for a glass-like finish. Isopropyl alcohol is necessary for cleaning the work area and the vase surface to ensure maximum adhesion. Finally, have a clear, water-based polyurethane or a clear ceramic glaze ready for the final sealing step, which protects the repair and enhances the shine.
Step-by-Step Restoration Process
First, clean the vase thoroughly with warm soapy water, then wipe it down with isopropyl alcohol. Allow it to dry completely. For cracks, apply a small amount of epoxy to one side of the crack, then press the two sides together firmly. Wipe away any excess resin immediately with an alcohol-dampened cloth to prevent unsightly bulges. Clamp the vase gently using soft rubber bands to hold the pieces in place while the epoxy cures, which usually takes twenty-four hours. Once cured, the epoxy will be hard and clear. If there are chips, mix the porcelain filler putty with the appropriate color pigment until it matches the vase’s glaze. Apply the putty to the chip, slightly over-filling the area to allow for sanding. Let the putty dry completely according to the manufacturer’s instructions.
Begin sanding the repaired areas. Start with 400-grit sandpaper to level the surface, then progress to 800, 1200, and finally 2000-grit sandpaper. Wet sanding is recommended to prevent dust from settling into the pores and to achieve a smoother finish. After sanding, the repair should be nearly invisible to the touch. Apply a thin layer of clear sealant over the repaired area to match the gloss level of the original glaze. Buff the area gently with a soft microfiber cloth to restore the shine.
Preventive care is key to preserving your restored porcelain vase. Avoid sudden temperature changes, such as placing a hot vase in cold water, as this can cause thermal shock and new cracks. Display the vase on a stable, padded surface to minimize the risk of accidental knocks. Regular dusting with a dry, soft cloth will maintain the beauty of the glaze without causing abrasion.
FAQ
Q: Can I use super glue to repair a porcelain vase?
A: No, super glue is not recommended for porcelain as it remains brittle and does not bond well to glazed surfaces, leading to further breakage.
Q: How do I match the color of a white porcelain vase exactly?
A: Use a porcelain repair kit with adjustable white pigment and test small amounts on a hidden area before applying to the main chip.
Leave a Reply