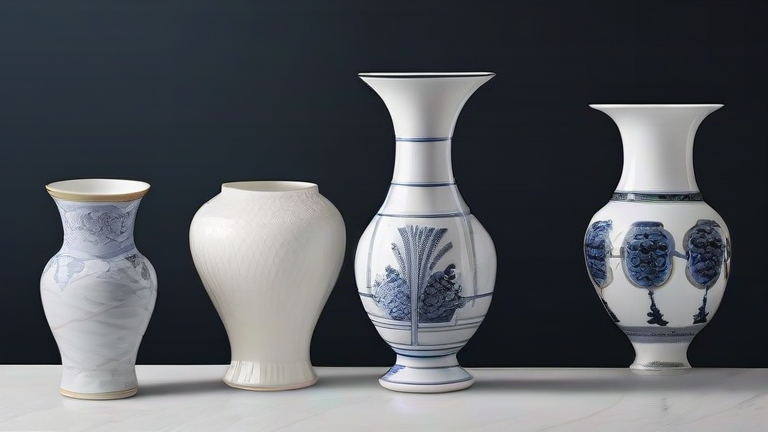
TL;DR: This guide teaches you how to paint and finish a plain porcelain vase using underglazes, clear glaze, and a kiln. You’ll learn surface prep, brush techniques, and firing steps to create a durable, decorative piece.
Materials You’ll Need
Gather a bisque-fired porcelain vase (unpainted, matte surface), underglaze paints in your chosen colors, a soft round brush (size 4–6), a liner brush for details, a sponge, rubbing alcohol, a clear gloss glaze, and access to a kiln. Porcelain is non-porous before bisque firing, so always buy pre-bisque items from a ceramics supplier—greenware (unfired) is too fragile for beginners.
If you want to dig deeper, check out our guide on Top 10 Viral TikTok Shop Beauty Products Driving Sales.
Step 1: Clean and Prep the Surface
Wipe the entire vase with a damp sponge to remove dust. Then, dip a cotton ball in rubbing alcohol and gently rub the surface—this removes any oily fingerprints that cause underglaze to bead up. Let dry for 10 minutes. Do not skip this; porcelain is slick, and any residue will ruin your brushstrokes.
Step 2: Plan Your Design (Light Sketch)
Use a soft graphite pencil to lightly sketch your pattern directly on the bisque. Simple motifs—stripes, dots, or a single floral branch—work best for beginners. Avoid heavy pressure; graphite burns off during firing. If you make a mistake, erase with a clean vinyl eraser and re-sketch.
Step 3: Apply First Coat of Underglaze
Dip your round brush into the underglaze and wipe off excess on a paper towel. Apply a thin, even coat over your sketched lines. Porcelain is thirsty, so the first coat will look dull and streaky—that’s normal. Work in small sections, overlapping strokes slightly. Let dry for 20 minutes.
Step 4: Build Layers for Deep Color
Apply a second and third coat, waiting 15 minutes between layers. Each layer intensifies the color. For a watercolor effect, use a damp brush to pull edges. For solid bands (e.g., a rim stripe), use a liner brush and drag it in one continuous motion. Tip: Test your brush pressure on a scrap tile—porcelain resists paint differently than earthenware.
Step 5: Add Fine Details
Once the base layers are dry, switch to a liner brush with a thicker underglaze (add a drop of water if too dry). Paint fine lines, dots, or leaf veins. Hold the vase with a foam grip or wrap a towel around the neck—never touch the painted area with bare fingers. Let dry fully for 1 hour.
Step 6: Apply Clear Glaze Overcoat
Using a wide soft brush, apply a clear gloss glaze over the entire vase, including the unpainted base. Brush in one direction: from bottom to top, then a second coat horizontally. This seals the underglaze and gives porcelain its shiny, glass-like finish. Avoid brushstrokes overlapping while wet—this creates bubbles. Let dry for 24 hours.
Step 7: Fire in a Kiln
Place the vase upright on a kiln shelf (use a kiln-washed shelf to prevent sticking). Fire to cone 6 (about 2232°F / 1222°C) with a slow ramp—check your underglaze manufacturer’s spec; some are rated for cone 5–6. Hold at peak temperature for 15 minutes, then cool naturally. Do not open the kiln until below 200°F to prevent crazing (tiny cracks).
Step 8: Final Inspection
Once cool, check for pinholes or bare spots. If you see any, reapply a thin layer of clear glaze and refire to the same cone. Your finished porcelain vase is now food-safe (if you use food-safe glazes)
Leave a Reply