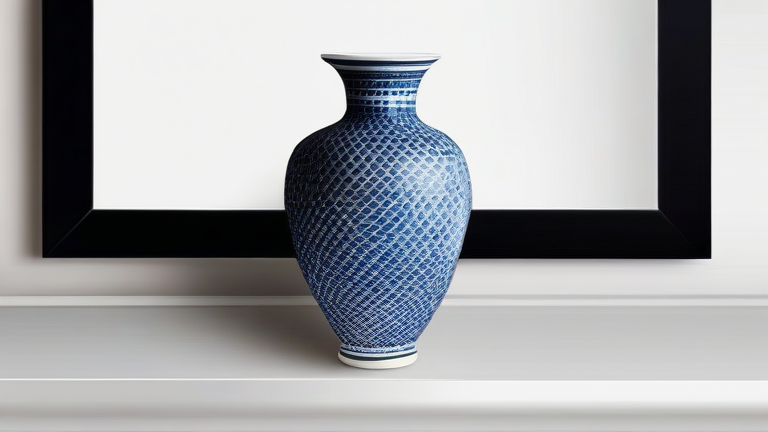
TL;DR: This guide teaches you how to select, prepare, and decorate a blank porcelain vase using underglazes and a clear glaze, then fire it to a finished, food-safe piece. You’ll need basic ceramic supplies, patience, and about two hours of active work (plus drying and firing time).
Porcelain Vase Tutorial: Step-by-Step Guide for Beginners
Porcelain is a high-fired, vitreous clay that produces a luminous, white surface—perfect for showcasing detailed brushwork or minimalist designs. Unlike earthenware, porcelain requires careful handling to avoid warping or cracking, but the payoff is a durable, heirloom-quality vase. This tutorial walks you through the entire process, from greenware to finished glaze.
If you want to dig deeper, check out our guide on Porcelain Vases & Health: Safety Tips for a Cleaner Home.
Step 1: Choose Your Greenware
Start with a bisque-fired porcelain vase (already fired once, no glaze). This is the easiest for beginners because the clay is no longer fragile. Look for a vase with a smooth, unglazed surface and a narrow neck (which helps with water retention for fresh flowers). Avoid pieces with sharp undercuts or deep texture—they make glazing uneven. Clean the vase with a damp sponge to remove dust, and let it dry completely.
Step 2: Apply Underglaze Decorations
Underglazes are pigments applied to bisque that stay matte until covered with clear glaze. Use a soft brush, sponge, or even a stencil. For a beginner-friendly look, try horizontal stripes: hold the vase steady on a banding wheel (or a turntable) and drag a brush loaded with underglaze across the surface. Work in thin, even coats—two to three layers will give solid color. Let each coat dry for 15 minutes. If you make a mistake, wipe it off with a damp sponge *before* it dries.
Step 3: Clean Edges and Let Dry
Once your design is complete, use a needle tool or fine sandpaper (220 grit) to gently clean any rough edges or smudges. Then let the underglaze dry for at least 1 hour, or until it feels bone-dry to the touch. Do not skip this—trapped moisture will cause bubbling in the final glaze.
Step 4: Apply Clear Glaze
Choose a food-safe clear glaze (e.g., a zinc-free satin or gloss). Dip the vase into the glaze bucket, hold for 3 seconds, then lift and let excess drip off. Alternatively, use a wide brush for absolute control. For dip glazing, ensure the vase is completely immersed and rotated slowly to avoid bubbles. Let it dry for 4–6 hours until no sheen remains. If you see bare spots, apply a second thin coat after the first is dry.
Step 5: Fire to Cone 6 or Cone 10
Place the vase on a kiln shelf with a thin layer of kiln wash. Fire to the temperature specified by your porcelain and glaze manufacturer—cone 6 (about 2232°F) for mid-fire porcelain, or cone 10 (about 2345°F) for high-fire. The firing cycle takes 8–12 hours, then cool slowly (never open the kiln above 200°F). Once cooled, your vase is vitrified, watertight, and ready for display.
Tips for Success
Always wear a dust mask when sanding porcelain—its fine silica particles are harmful to lungs. Test your glaze on a small tile first to confirm it matches your underglaze. And never fire a vase that has any moisture inside; store it upside down before firing to prevent dust accumulation.
FAQ
Q: Can I use a raw (unfired) porcelain vase instead of bisque?
A: No—raw greenware is extremely fragile and will dissolve in water-based glazes. Always use a bisque-fired
Leave a Reply