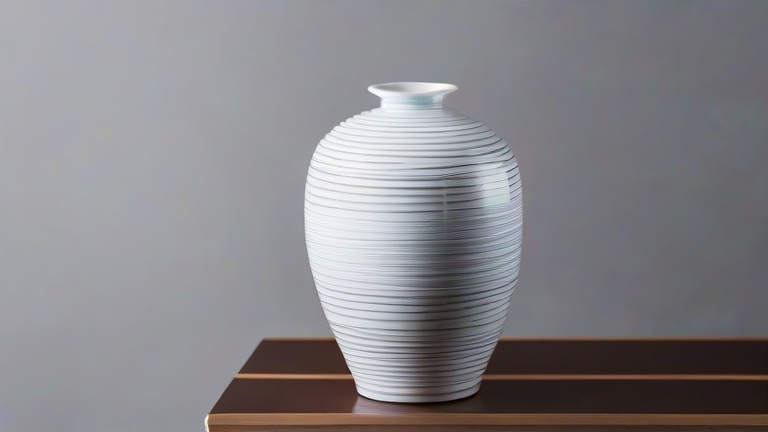
Porcelain Vase Tutorial: Step-by-Step DIY Guide
TL;DR: Create a stunning custom porcelain vase by applying a high-quality ceramic paint to a pre-fired blank vase, followed by a protective glaze. Finish the piece by bisque firing it in a kiln to ensure the design remains permanent and water-resistant.
Creating a personalized porcelain vase is an accessible and rewarding craft that allows for infinite creative expression. This tutorial guides you through the process of transforming a simple, unfired or bisque-fired porcelain blank into a unique decorative statement piece. You will need a clean, dry porcelain vase, ceramic-specific paints, a variety of fine brushes, and a clear glaze. Begin by ensuring your workspace is well-ventilated and free from dust. Porcelain is highly absorbent before firing, so handle your blank vase with clean hands or gloves to avoid transferring oils that could cause paint adhesion issues. If your vase is already bisque-fired, lightly sand any rough spots with fine-grit sandpaper to create a smooth surface for painting. Once the surface is prepared, sketch your design lightly with a water-soluble pencil. This step is crucial for planning the layout and ensuring symmetry, especially for intricate patterns or floral motifs. The pencil lines will burn away during the final firing process, leaving no trace behind. Next, prepare your ceramic paints. These are specifically formulated to bond with the porcelain surface and withstand high temperatures. Choose a color palette that complements the white nature of porcelain, as bright hues tend to pop vibrantly against the stark background. Start with your base colors, applying thin, even layers. Porcelain paint dries quickly, so work in small sections to maintain control and avoid smudging. Use fine-tipped brushes for detailed work and broader brushes for larger areas of color. Allow the first coat to dry completely before applying subsequent layers if you desire richer, more opaque colors. Once your painting is finished and fully dry, it is time to apply the glaze. A clear gloss glaze is the most common choice as it provides a shiny, glass-like finish that protects the paint and makes the vase waterproof. Dip the vase into the glaze or use a brush to apply a thin, even layer, ensuring full coverage. Be careful not to pool the glaze at the bottom, as this can cause defects during firing. Let the glaze dry thoroughly, which may take up to twenty-four hours depending on humidity. Finally, fire the vase in a kiln according to the manufacturer’s recommendations for your specific glaze and paint type. Typically, this involves a reduction or oxidation firing at high temperatures. After firing, allow the vase to cool slowly inside the kiln to prevent thermal shock. Your finished porcelain vase is now ready to display. To care for it, wash gently with warm water and mild soap, avoiding abrasive scrubbers that could scratch the glaze. Display your creation in a well-lit area to showcase its vibrant colors and glossy finish. Whether used for fresh flowers or as a standalone decorative object, your DIY porcelain vase adds a touch of artistic elegance to any interior space. Remember that practice makes perfect, so do not be discouraged if your first attempt has minor imperfections. Each piece is unique, and the process of creation is just as valuable as the final product.
If you want to dig deeper, check out our guide on 3D Printed Porcelain Vases: Tech Meets Art.
FAQ
Q: Can I use regular acrylic paint on a porcelain vase?
A: No, regular acrylic paint is not heat-resistant and will not bond properly with porcelain during the firing process; always use ceramic-specific paints.
Q: What happens if I skip the glazing step?
A: Skipping the glazing step leaves the painted surface porous and unprotected, making the vase susceptible to water damage and causing the colors to fade or chip over time.
Q: How long does the entire process take from start to finish?
A: The entire process typically takes about three to five days, accounting for drying times between paint layers, glaze application, and the required kiln firing and cooling periods.
Leave a Reply