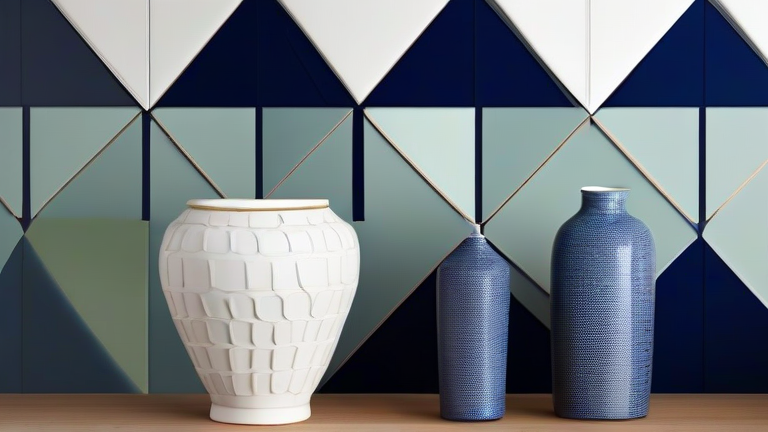
Porcelain Vase Tutorial: 5 Easy DIY Steps to Create Stunning Decor
TL;DR: Transform plain white porcelain vases into unique home decor by applying a custom finish using acrylic paint, decoupage, or gold leaf accents. This five-step process allows you to personalize mass-produced ceramic pieces into high-end, stylish centerpieces for minimal cost.
Porcelain vases are timeless additions to any interior, but their pristine white surfaces can sometimes feel too generic for eclectic or modern spaces. By applying simple DIY techniques, you can alter the texture, color, and overall aesthetic of these delicate items. This guide walks you through five straightforward steps to customize your porcelain vase, ensuring a professional-looking result without requiring advanced artistic skills. Whether you prefer a minimalist matte look or a bold, patterned design, these methods are adaptable to various styles and skill levels.
If you want to dig deeper, check out our guide on How to Clean Porcelain Vases Safely: Health & Hygiene Tips.
Step 1: Preparation and Cleaning
Before applying any materials, thoroughly clean your porcelain vase with warm soapy water to remove dust, oils, or manufacturing residues. Use a lint-free cloth to dry the surface completely. Any residue left on the porcelain will prevent adhesives or paints from bonding properly, leading to peeling or flaking later. Ensure the vase is handled with clean hands or gloves to avoid transferring skin oils to the glossy surface.
Step 2: Selecting Your Design Technique
Choose a customization method that suits your style. For a modern look, consider using metallic acrylic paints in gold or silver. For a rustic or vintage aesthetic, try decoupage using scrapbook paper or fabric scraps. Alternatively, a matte clear varnish can instantly change the sheen from glossy to soft, adding depth without changing the color. Gather all necessary supplies, including brushes, stencils, and sealants, before beginning the application process.
Step 3: Applying the Base Layer
If you are painting, apply a thin, even layer of primer if using opaque colors, though many porcelain-specific paints adhere directly to the glaze. Use a high-quality synthetic brush to minimize brush strokes. For decoupage, apply a thin layer of glue to the desired area and carefully smooth the paper or fabric onto the vase, working from the center outward to remove air bubbles. Patience is key during this step to ensure a smooth, professional finish.
Step 4: Adding Details and Texture
Enhance your design with details such as gold leaf accents, hand-painted motifs, or textured stickers. This step is where your personal style shines. You can create a gradient effect by blending colors or add contrast by outlining shapes. If using gold leaf, apply it to areas that catch the light to create a stunning visual impact. Ensure each layer is fully dry before adding the next to prevent smudging or mixing of materials.
Step 5: Sealing and Curing
Once your design is complete and fully dry, apply a clear, water-based polyurethane sealant to protect your work. This is crucial for porcelain vases, especially if they will hold water or flowers. Apply two to three thin coats, allowing adequate drying time between each application. Proper sealing ensures the longevity of your decoration and prevents moisture from damaging the underlying materials or causing the paint to crack over time.
FAQ
Q: Can I paint directly onto glazed porcelain?
A: Yes, you can use specialized ceramic paints or high-adhesion acrylics, but applying a primer or etching the surface slightly improves adhesion and durability for long-term use.
Q: How do I prevent water damage if the vase holds flowers?
A: Always seal the interior of the vase with a food-safe, waterproof varnish if it will hold water. This barrier prevents moisture from seeping into the paint or decoupage materials, which could cause swelling or peeling.
Q: What is the best way to clean a decorated porcelain vase?
A: Clean your decorated vase gently with a soft, damp cloth and mild
Leave a Reply