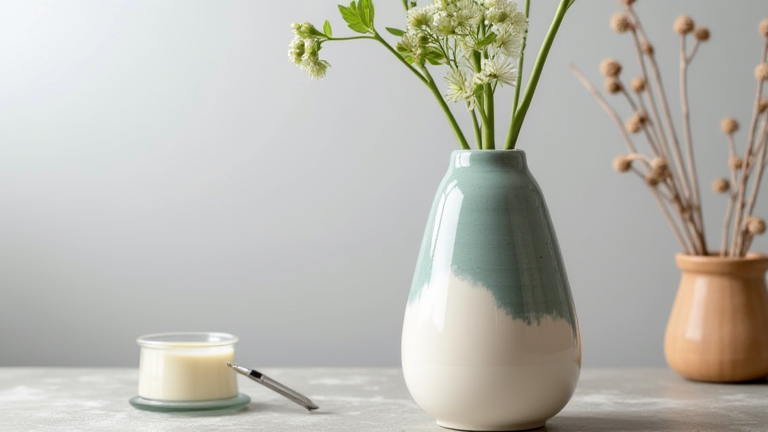
TL;DR: To paint a porcelain vase, you must clean, sketch, apply underglazes, and fire the piece in a kiln to permanently fuse the design. This guide walks you through surface prep, brush techniques, and glaze layering for a professional, food-safe finish.
Porcelain Vase Painting Tutorial: Step-by-Step Guide
Step 1: Gather Materials and Prep the Vase
You will need a bisque-fired porcelain vase (un-glazed, matte surface), underglaze paints, a soft synthetic brush set, a pencil, rubbing alcohol, and a clear glaze. Wipe the vase with a lint-free cloth dipped in rubbing alcohol to remove dust and oils. Do not touch the surface with bare hands after cleaning—wear nitrile gloves. Porcelain is non-porous after bisque firing, so fingerprints will repel the underglaze.
If you want to dig deeper, check out our guide on Tech Meets Tradition: How AI Enhances Porcelain Vase Design.
Step 2: Sketch Your Design Lightly
Use a soft graphite pencil (2B) to draw your pattern directly on the bisque. Porcelain accepts pencil marks easily, and they burn off during firing. Keep lines thin; heavy pressure can create grooves that trap glaze. For beginners, choose geometric motifs or floral outlines—avoid dense shading, as underglazes behave differently than paint on canvas.
Step 3: Apply the First Layer of Underglaze
Mix your underglaze to a creamy consistency (like heavy cream). Load your brush and apply a thin, even coat. Do not overbrush—porcelain is brittle and dragging a dry brush can lift earlier strokes. Work in small sections, using a fan brush for broad areas and a liner brush for details. Let the first coat dry for 20 minutes.
Step 4: Build Color with Multiple Thin Coats
Underglazes are translucent, so you need 2–3 thin coats for solid opacity. Apply each coat in a different direction (horizontal, then vertical) to avoid streaking. Between coats, let the vase dry completely—use a hairdryer on a cool setting for 10 minutes to speed this up. For deep blues or crimson, add a fourth coat, but keep each layer as thin as possible to prevent cracking during firing.
Step 5: Add Fine Details and Highlights
Once the base coats are dry, use a fine-tipped brush with a slightly thicker underglaze (add a few drops of water to reduce viscosity). Paint outlines, veins, or dots. For highlights, use a clean damp sponge to gently lift color from raised areas—this creates a 3-D effect on the vase’s curve. If you make a mistake, wipe off wet underglaze with a damp cotton swab; do not scrub dry paint.
Step 6: Apply Clear Glaze and Fire
After the underglaze is completely dry (24 hours), apply a clear overglaze or food-safe clear glaze using a wide brush. Coat the entire vase evenly, avoiding drips at the base. Then, fire the vase in a kiln per your glaze manufacturer’s cone rating (usually cone 06–04 for underglazes, then a second firing at cone 6 for the clear glaze). Temperature ramps are critical—porcelain can warp if heated too fast. Cool slowly for 12 hours before opening the kiln.
FAQ
Q: Can I use a regular acrylic paint instead of underglaze on porcelain?
A: No—acrylics do not fuse to the silica in porcelain and will peel or chip when washed. Always use underglazes or ceramic stains, which are designed to vitrify at high temperatures.
Q: Do I need to seal the vase after firing if it holds water?
A: Yes, if the clear glaze does not cover the interior, apply a liquid sealer or glaze the inside with a food-safe clear glaze and fire again. Otherwise, water can seep into the porous bisque and crack the outer glaze.
<strong
Leave a Reply