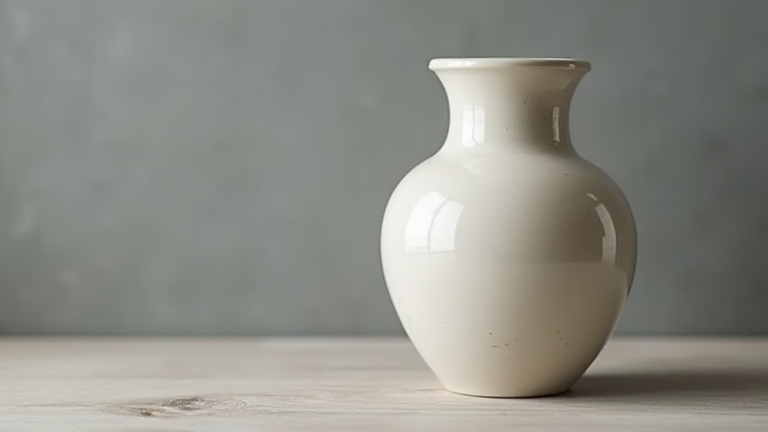
TL;DR: To make a porcelain vase, you must throw or hand-build a clay form, bisque-fire it, glaze it, and then high-fire it to vitrification. The key is controlling moisture loss and firing temperatures to prevent cracking or warping.
Porcelain Vase Making Tutorial: Step-by-Step Guide
Step 1: Prepare Your Porcelain Body
Use a fine-grained porcelain clay (like a cone 10 body). Wedge the clay thoroughly to remove air pockets. Porcelain is low-plasticity, so keep it covered with a damp cloth while working—dry edges cause tears.
If you want to dig deeper, check out our guide on Why Solid Wood Furniture Is the Sustainable Trend Replacing .
Step 2: Center and Throw (or Hand-Build)
On a wheel, center a 1–2 lb ball. Open a cylinder, then shape the neck and belly. For hand-building, use coil or slab methods, but keep walls uniform (¼ inch thick) to avoid stress. Tip: Use a rib to compress the base—porcelain is prone to “S-cracks” there.
Step 3: Trim and Dry to Leather-Hard
Wait until the vase is firm but not dry (leather-hard). Trim the foot ring and refine the profile. Dry slowly under plastic for 3–5 days, flipping the vase occasionally. Porcelain shrinks ~12–15%—account for final size.
Step 4: Bisque Fire
Fire the vase to cone 06 (1830°F / 999°C). This hardens the clay into a porous, biscuit state. Cool slowly in the kiln to prevent thermal shock.
Step 5: Glaze Application
Dip, pour, or spray a compatible porcelain glaze (e.g., a clear or celadon). Apply 2–3 thin coats, letting each dry. Leave the foot ring unglazed to avoid sticking to kiln shelves. Tip: Test glaze on a scrap piece—porcelain’s whiteness alters glaze color.
Step 6: High-Fire (Glaze Fire)
Fire to cone 10 (2345°F / 1285°C) for vitrification. Use a slow ramp (100°F/hour) near the end. Cool to 200°F before opening the kiln. The vase should be translucent when held to light if thin-walled.
Step 7: Finishing
Grind any glaze drips with a diamond pad. Clean the foot ring. Your porcelain vase is now non-porous, durable, and ready for display or floral use.
FAQ
Q: Why did my porcelain vase crack during drying?
A: Cracks usually come from uneven wall thickness or drying too fast. Keep the vase covered with plastic for the first 48 hours, and compress the base while throwing to reduce S-cracks.
Q: Can I use commercial stoneware glaze on porcelain?
A: Yes, but test first—stoneware glazes often develop a different finish on porcelain due to its low iron content. A clear glaze over underglaze is a safer choice for bright colors.
Q: How do I prevent the vase from warping in the glaze fire?
A: Support the vase with a kiln shelf prop or refractory stilt under the foot. Also, avoid over-thinning the walls near the base, and fire on a smooth, well-dusted shelf to allow even contraction.
Leave a Reply