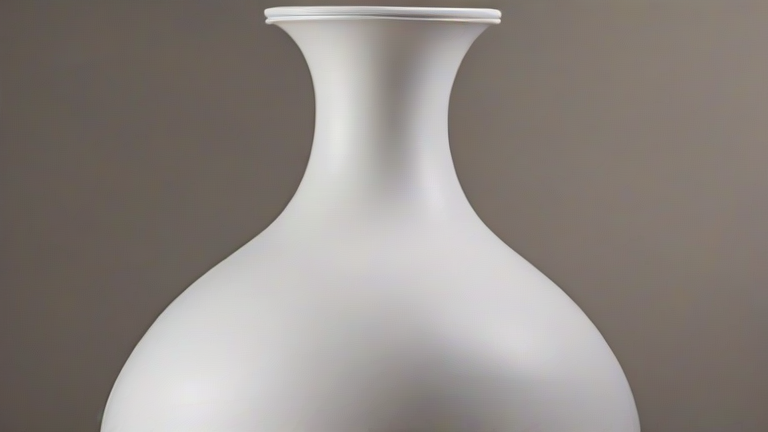
TL;DR: To make a porcelain vase, you shape clay on a wheel, let it dry to leather-hard, then trim, assemble, and smooth the surface. Finally, you bisque-fire, glaze, and high-fire the piece to achieve its glassy, waterproof finish.
Materials & Setup
Before touching clay, gather: 2–3 lbs of porcelain clay (e.g., cone 6 or 10), a potter’s wheel, a wire cutter, a sponge, a needle tool, a wooden rib, a metal trimming tool, and a bat. Porcelain is finicky—it’s less forgiving than stoneware, so wedge your clay thoroughly for 10 minutes to remove air pockets. Keep a spray bottle of water nearby; porcelain dries fast and cracks easily.
If you want to dig deeper, check out our guide on Porcelain Vase Business Guide: Profitable Ideas & Tips.
Step 1: Center and Open the Clay
Throw a ball of clay onto the wheel center. Wet your hands, then press down firmly as the wheel spins at medium speed (150–200 RPM). Use your left palm to push the clay into a cone, then pull it down—repeat 5 times until it’s perfectly centered (no wobble). With your right thumb, press a hole in the center, stopping 1/2 inch from the bat. Widen it to a 2-inch diameter, leaving a 1-inch thick floor.
Step 2: Pull the Walls
Lubricate the clay. Place your left hand inside, right hand outside, and squeeze gently while pulling upward from the bottom. Do this in 3–4 passes, each time raising the wall by about 1 inch. Keep your hands braced against each other—porcelain collapses if you pull too thin too fast. Aim for walls 1/4 inch thick. For a classic vase, flare the lip outward slightly by pressing with a sponge on the rim.
Step 3: Shape and Dry to Leather-Hard
Use a wooden rib on the outside to define the belly and neck. For a teardrop silhouette, gently narrow the top while widening the bottom. Once shaped, cut the vase off the bat with a wire, then let it dry for 24–48 hours until leather-hard—like firm cheddar cheese. At this stage, re-center it upside down on the wheel (using a chuck) and trim the foot ring with a metal tool. Smooth any tool marks with a damp sponge.
Step 4: Bisque Fire
After the vase is completely bone-dry (no cool spots on your cheek), load it into a kiln. Fire to 1828°F (cone 06) for bisque—this makes the porcelain porous and ready for glaze. Cool slowly for 12 hours to avoid dunting (cracks from thermal shock).
Step 5: Glaze and High Fire
Wipe off bisque dust with a damp cloth. Apply 2–3 coats of glaze (e.g., a celadon or shino) by dipping or brushing, letting each coat dry. Leave the foot ring unglazed to prevent sticking to the kiln shelf. Fire to cone 6 (2232°F) for mid-fire porcelain, or cone 10 (2345°F) for high-fire—this vitrifies the body, making it translucent when held to light. Cool for 24 hours before opening.
Pro Tips for Porcelain Vases
Use recycled porcelain slurry (slip) to repair cracks—just dab and smooth. Always compress the rim after pulling, as porcelain micro-cracks at the lip. For a glossy finish, apply glaze thicker at the belly, thinner at the neck. Never rush drying; cover with plastic overnight between steps.
FAQ
Q: Why did my porcelain vase crack during drying?
A: Cracks usually come from uneven wall thickness or drying too fast. Keep the vase covered with plastic for the first 12 hours, and ensure the floor is not thicker than the walls—thick bases shrink
Leave a Reply