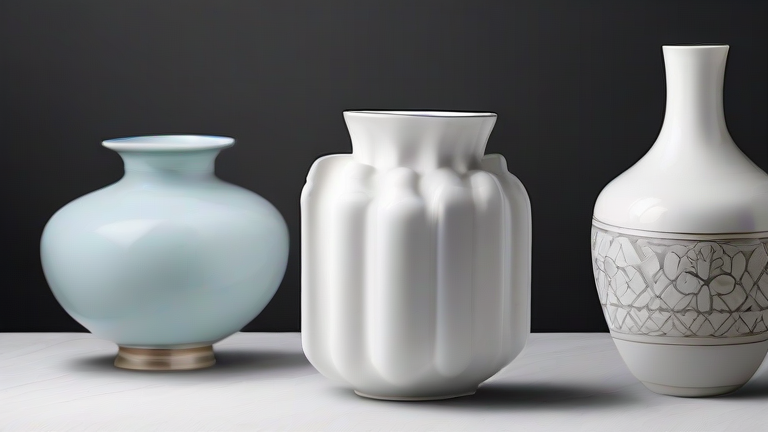
How to Paint Porcelain Vases: Step-by-Step DIY Tutorial
TL;DR: To paint porcelain vases, first clean and prep the surface, then apply thin layers of high-temperature ceramic paint using fine brushes. Finally, cure the piece in a home oven according to the manufacturer’s specific temperature and time instructions to ensure durability.
Transforming a plain or outdated porcelain vase into a unique piece of art is a rewarding DIY project. However, painting on porcelain requires specific materials and techniques because the surface is non-porous and slippery. Standard acrylics or house paints will not adhere properly or withstand washing. This guide focuses on using high-temperature ceramic paints, which bond chemically with the glaze when fired in an oven, creating a permanent, dishwasher-safe finish.
If you want to dig deeper, check out our guide on Top 10 Porcelain Vases: Trends, Styles & Care Guide.
Gathering Your Materials
Before you begin, ensure you have all the necessary supplies. You will need high-temperature ceramic paint designed for home oven firing, a set of fine-tip synthetic brushes for detail work, and a broader brush for background colors. Isopropyl alcohol and a lint-free cloth are essential for cleaning. Additionally, you will need parchment paper to protect your oven rack and heat-resistant gloves for handling the hot vase. Ensure your home oven can reach the specific temperature required by your chosen paint brand, typically between 300°F and 350°F.
Step 1: Preparation and Cleaning
Porcelain is often smooth and slightly oily from handling. Start by washing the vase with warm, soapy water to remove any dust or oils. Rinse thoroughly and let it air dry completely. Once dry, wipe the entire surface with isopropyl alcohol using a lint-free cloth. This step is critical because even microscopic oils can prevent the paint from adhering, leading to peeling after firing. Let the alcohol evaporate completely before proceeding.
Step 2: Sketching Your Design
Use a soft pencil to lightly sketch your design onto the vase. Pencil marks will burn out during the firing process, so do not worry about their visibility. Keep your lines light to avoid any potential residue. If you are painting a complex pattern, consider practicing on a scrap piece of ceramic or a similar glossy surface first to test your brush control.
Step 3: Applying the Paint
Load your brush with a small amount of ceramic paint. The key to successful porcelain painting is applying thin, even coats. Thick layers of paint can bubble, crack, or peel during the firing process. Start with your background colors, allowing each layer to dry to the touch before applying the next. For details, use your finest brushes and steady hands. If you make a mistake, you can gently wipe it away with a damp cloth before the paint dries. Remember, the colors may appear dull while wet but will brighten significantly after firing.
Step 4: Drying and Firing
Allow the painted vase to dry completely, which usually takes 24 to 48 hours. Do not touch the surface during this time. Place the vase on a sheet of parchment paper on your oven rack. This prevents any potential drips from damaging your oven and protects the vase from direct heat elements. Follow the specific firing instructions provided by your paint manufacturer. Typically, this involves baking at 300°F to 350°F for 30 to 45 minutes. Allow the vase to cool inside the oven with the door slightly ajar to prevent thermal shock, which can cause cracking.
Step 5: Curing and Care
Once cooled, your vase is ready for display. The paint has now fused with the porcelain, making it durable and safe for indoor use. While most high-temperature paints are dishwasher safe, it is always best to check the product label. Hand washing with mild soap is recommended to preserve the vibrancy of the colors for years to come. Avoid using abrasive sponges, which can scratch the surface over time.
Pro Tips for Success
Work in
Leave a Reply