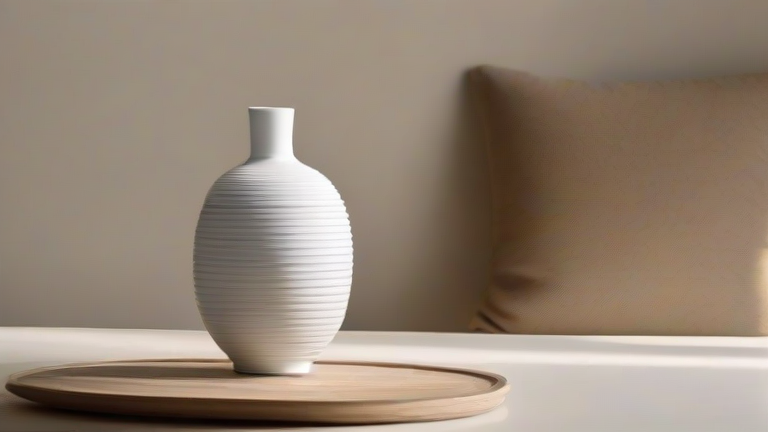
TL;DR: Create a stunning porcelain vase at home using air-dry porcelain clay, shaping it by hand or on a potter’s wheel, then sanding and sealing it with a food-safe glaze or varnish. The process takes about 48 hours total (drying + finishing) and requires no kiln, making it perfect for beginners.
Materials You’ll Need
Gather: 1 lb air-dry porcelain clay (white, fine-grained), a rolling pin, a plastic scraper, a small bowl of water, a wire cutter, fine-grit sandpaper (400 and 800), a soft brush, and a water-based acrylic sealer or ceramic glaze spray. Optionally, use a turntable for even shaping.
If you want to dig deeper, check out our guide on Porcelain Vase Tutorial: 5 Easy DIY Steps to Create Stunning.
Step 1: Prepare and Wedge the Clay
Knead the porcelain clay for 3–5 minutes until it’s smooth and free of air bubbles. If it feels dry, mist it with water. Porcelain is delicate—keep it covered with a damp cloth when not in use to prevent cracking.
Step 2: Shape the Base and Walls
Roll the clay into a ball, then press it into a rough cylinder. Use your thumbs to create a hollow center, working outward to form walls about ¼-inch thick. For a classic vase silhouette, pinch the neck inward while supporting the base. Alternatively, roll a slab and wrap it around a cardboard tube—remove the tube once the clay firms up (after 30 minutes).
Step 3: Smooth and Refine the Surface
Dip your fingers in water and gently glide them over the entire surface to eliminate fingerprints and seams. Use the plastic scraper to carve subtle ridges or a foot ring. Let the vase dry for 24 hours at room temperature—do not rush with heat, as porcelain shrinks and may warp.
Step 4: Sand and Finish
Once fully dry, sand with 400-grit paper to remove bumps, then switch to 800-grit for a silky finish. Wipe off dust with a dry brush. Apply two thin coats of acrylic sealer or ceramic glaze, letting each coat dry for 2 hours. This gives a subtle sheen and waterproofs the interior for fresh flowers.
Step 5: Cure and Display
Allow the finished vase to cure for 48 hours before handling. Avoid filling it with water for at least a week. For a matte look, use a matte varnish; for glossy, choose a high-shine spray. Display away from direct sunlight to prevent yellowing.
FAQ
Q: Can I put water in an air-dry porcelain vase?
A: Yes, but only after sealing the inside with a waterproof glaze or epoxy. Even then, avoid prolonged water contact—use a glass insert for fresh flowers to protect the clay.
Q: How do I fix cracks that appear during drying?
A: Dampen the cracked area with water, press in a small amount of fresh porcelain clay, and smooth it with your finger. Let it dry slowly under a plastic bag to prevent new fissures.
Q: Is air-dry porcelain as strong as kiln-fired porcelain?
A: No—it’s more fragile and not dishwasher or microwave safe. However, it’s ideal for decorative vases, dried botanicals, or jewelry storage, and it’s far more accessible for home crafters.
Leave a Reply