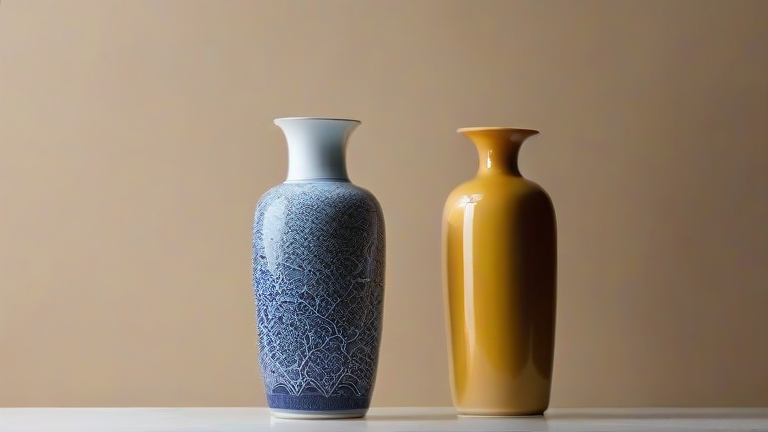
TL;DR: Glazing a porcelain vase involves applying a liquid glass suspension to the bisque-fired clay, then firing it again to melt the coating into a waterproof, glossy surface. Master clean application, layer control, and proper kiln ramp rates to avoid drips, pinholes, or crazing.
Step 1: Prepare Your Bisque and Glaze
Start with a clean, bone-dry bisque-fired porcelain vase (fired to cone 06–04). Wipe it with a damp sponge to remove dust, then let it dry completely—any moisture will cause the glaze to repel or bubble. Choose a glaze formulated for mid-range (cone 5–6) or high-fire (cone 9–10) porcelain. Stir the glaze thoroughly for 3–5 minutes; porcelain is dense, and settled particles will create uneven coverage. Sieve it through an 80-mesh screen if lumps appear.
If you want to dig deeper, check out our guide on Why the Quiet Luxury Trend Is Driving Demand for Italian Lea.
Step 2: Apply the First Coat (Base Layer)
Use a soft hake brush, a spray gun, or pour the glaze. For dipping, hold the vase by its foot ring and submerge it vertically for 3–4 seconds, then withdraw slowly. For brushing, apply two thin coats, not one thick coat—porcelain’s low porosity causes rapid water absorption, which can crack a heavy layer. Allow the first coat to dry to a matte, chalky touch (about 20–30 minutes). Ensure the glaze thickness is 1–1.5 mm; too thin yields a dry finish, too thick risks running off the vase during firing.
Step 3: Add Decorative Layers (Optional)
For layering colors, use wax resist on the vase’s foot ring to prevent glaze from sticking to the kiln shelf. Apply a second glaze only to the upper two-thirds of the vase, leaving the lower third in the base glaze for a two-tone effect. Use a fine liner brush for detailed patterns—porcelain tolerates crisp edges better than stoneware. Between layers, let each coat dry to leather-hard, not wet, to prevent smearing.
Step 4: Clean Up Edges and Foot Ring
Remove any glaze from the bottom 5 mm of the vase using a damp sponge or a sharp tool. Unwiped glaze will fuse to the kiln shelf, ruining both. For a crisp line, apply a coat of liquid latex or wax resist to the foot before dipping. After wiping, check for drips or runs: gently smooth them with a wet finger while the glaze is still tacky.
Step 5: Fire to the Correct Cone
Place the vase on a kiln shelf dusted with alumina hydrate or set on kiln stilts. Fire at a slow ramp: 100°F (38°C) per hour to 300°F to burn off organic binders, then 200°F/hour to your glaze’s maturity cone. Hold at peak temperature for 15–20 minutes to allow the glass to flow evenly. Cool naturally to 200°F before opening the kiln. Rapid cooling causes crazing (fine cracks) on porcelain bodies.
Step 6: Inspect and Fix Common Defects
After firing, check for pinholes (tiny craters) from trapped air—re-fire with a 10-minute hold at 1800°F to degas. If you see bare spots, that’s from too-thin application; reglaze and fire again. For drips that ran onto the shelf, grind them off with a diamond burr and repolish with 400-grit sandpaper. Never refire a glaze more than twice, as the porcelain body can warp.
FAQ
Q: Can I glaze a porcelain vase that was already glazed and fired once?
A: Yes, but only if the original glaze has no cracks or chips. Clean it with vinegar, apply a new layer of glaze (thinner than normal), and fire to 50°F lower than the original cone to avoid over
Leave a Reply