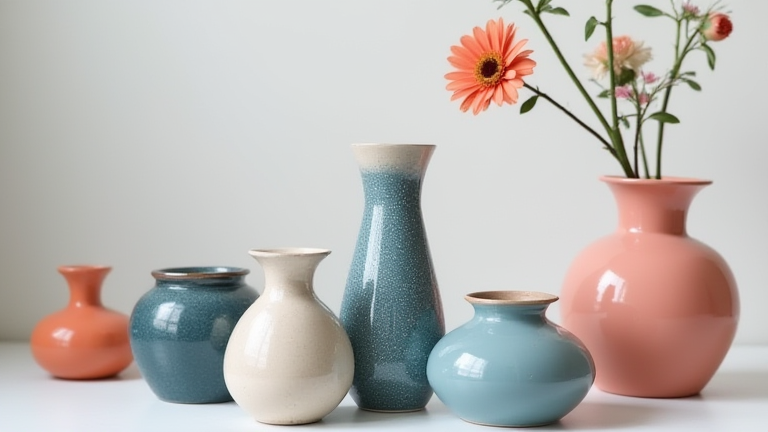
TL;DR: To decorate porcelain vases, prepare the surface by washing and sanding, then apply a primer before using specialized porcelain paints or decoupage techniques. Finish your creation with a heat-resistant sealant and cure it in an oven to ensure the design remains durable and vibrant for years.
Preparation is Key to Success
Step 1: Clean and Prep the Surface
Begin by thoroughly washing your porcelain vase with warm, soapy water to remove any dust, oil, or manufacturing residues. Dry it completely. If the vase has a glossy finish, lightly sand the area you plan to paint using 400-grit sandpaper. This creates a “tooth” for the paint to adhere to. Wipe away all dust with a damp cloth. Proper preparation prevents peeling and flaking later on.
If you want to dig deeper, check out our guide on Tech Meets Tradition: Smart Gadgets for Porcelain Vase Care.
Step 2: Apply a Primer
Porcelain is non-porous, so standard craft paints will not stick well. Use a high-quality primer designed for glass or ceramics. Apply a thin, even coat with a foam brush to avoid streaks. Allow it to dry completely according to the manufacturer’s instructions. A primer provides a uniform base that enhances the vibrancy of your chosen colors and ensures better adhesion for the top layer.
Step 3: Choose Your Medium
Select your decorating method. For intricate designs, use fine-tip porcelain paints or alcohol inks. For a classic look, try decoupage using tissue paper and Mod Podge. If you prefer a textured look, you can use porcelain-safe modeling paste. Always choose materials specifically labeled for porcelain or ceramic use to ensure safety and longevity. Avoid standard acrylics unless you are applying a heavy-duty sealant, as they may chip easily on smooth surfaces.
Step 4: Design and Paint
Sketch your design lightly with a grease pencil or transfer stencil. Start with base colors and work your way to details. Use steady, confident strokes to maintain clean lines. If using decoupage, cut your chosen images from thin paper, apply a layer of adhesive, place the image, and smooth out bubbles with a brayer. Work in small sections to keep the adhesive from drying before you can smooth the material down.
Step 5: Seal and Cure
Once your design is dry, apply a clear, heat-resistant sealer. Spray sealers are often easier to apply evenly than brush-on types. Apply two to three thin coats, allowing drying time between each. Finally, cure the vase in an oven at the temperature recommended by your paint or sealer manufacturer. This baking process fuses the design to the porcelain, making it dishwasher-safe and durable.
Pro Tips
Work in a well-ventilated area when using sprays or solvents. Keep your workspace clean to prevent dust from settling on wet paint. Test your design on a scrap piece of ceramic before committing to the full vase. Remember that thin coats are better than thick ones for preventing cracking during the curing process.
FAQ
Q: Can I use regular acrylic paint on a porcelain vase?
A: It is not recommended because acrylics do not bond well to non-porous surfaces and will likely chip. Use specialized porcelain paints or apply a strong primer and sealant if you must use acrylics.
Q: How do I make my painted vase dishwasher safe?
A: You must use paints and sealants rated for high heat and cure them in an oven. This process fuses the paint to the ceramic, creating a durable, water-resistant finish that can withstand dishwashers.
Q: What should I do if paint bubbles appear during drying?
A: If bubbles appear before the paint dries, gently pop them with a fine needle and smooth the area. If they appear after curing, they may be air pockets trapped during application; ensure you apply thin coats and avoid shaking the paint bottle vigorously before use.
Leave a Reply