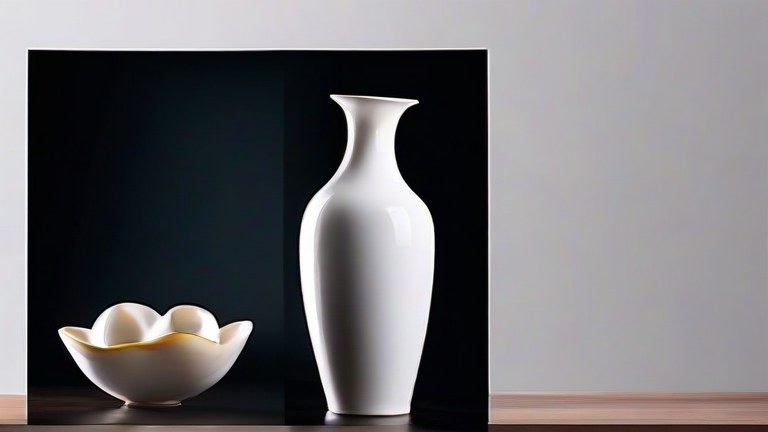
TL;DR: To create a stunning DIY porcelain vase, apply a thin, even layer of high-fire glaze over a bisque-fired body, ensuring full coverage without pooling. Then, fire the piece in a kiln to cone 6 or cone 10 for approximately six hours to achieve a durable, glassy finish that highlights the delicate nature of the porcelain clay.
Understanding Porcelain and Preparation
Porcelain is distinct from other clays due to its high firing temperature and resulting translucency and strength. Before you begin your glazing tutorial, ensure your vase has already been bisque-fired. This initial low-temperature firing hardens the clay enough to handle without breaking but leaves the surface porous enough to absorb the glaze. If you are making the vase from scratch, remember that porcelain shrinks significantly during firing. Therefore, you must throw or mold your vase slightly larger than your desired final size to account for this shrinkage. A common mistake is under-sizing the piece, which can lead to cracks if the structural integrity is compromised during the final high-heat process. Always inspect your bisque-fired vase for any hairline cracks or weak spots, as the intense heat of the final firing will expand these flaws, potentially shattering the entire piece. Cleaning the vase with a dry brush is essential to remove any dust or debris that could interfere with the glaze adhesion.
The Glazing Process
Glazing is both an art and a science, particularly with porcelain. Because the body is white and non-porous after the second firing, the glaze will dictate the final appearance. You have two main methods: dipping or brushing. Dipping is faster and provides an even coat, but it requires precise timing. Hold the vase by the neck or base, depending on your design, and submerge it into the glaze bucket for three to five seconds. For a thicker, more opaque look, increase the dip time. Brushing offers more control, allowing for layered effects or color gradients. Use a soft, wide brush to apply the glaze in smooth, horizontal strokes. Avoid leaving the brush dry in the glaze bucket, as this can introduce air bubbles into the mix. Remember that porcelain glazes are often thinner and more fluid than stoneware glazes. If you are using a clear glaze, apply it thin to maintain the white purity of the porcelain. For colored glazes, you may need two coats to achieve full saturation. Always ensure the glaze covers the entire exterior surface, but keep the bottom foot ring clean. A thin layer of wax or a specialized barrier can prevent the glaze from fusing the vase to the kiln shelf. Check for drips before placing the piece in the kiln, as excessive pooling can cause the glaze to run down and create unwanted blobs or stains on the lower sections.
Firing and Cooling
The final firing is the most critical step. Load your kiln with adequate space between vases to allow for even heat circulation. Use kiln posts or stilts to ensure no two pieces touch, as glazes can melt and stick objects together. Set your kiln to your specific glaze temperature, typically cone 6 for mid-range glazes or cone 10 for high-fire glazes. The firing schedule is vital; porcelain requires a slow ramp-up to prevent thermal shock, which can crack the delicate body. A standard firing might take six to ten hours. Do not open the kiln until it has cooled below 200 degrees Fahrenheit. Opening it too early can cause the porcelain to warp or crack due to rapid temperature changes. Once cooled, inspect your vase for any glaze defects, such as crawling or pinholes. If the glaze feels rough, it may need a second firing or a different glaze ratio. Properly fired porcelain vases are durable and water-tight, making them perfect for holding fresh flowers or serving as decorative accents in any home. This process rewards patience and precision, resulting in a unique, handcrafted piece that reflects your personal style and technical skill in ceramics.
FAQ
Q: Can I use standard stoneware glazes on porcelain?
A: While some
Leave a Reply