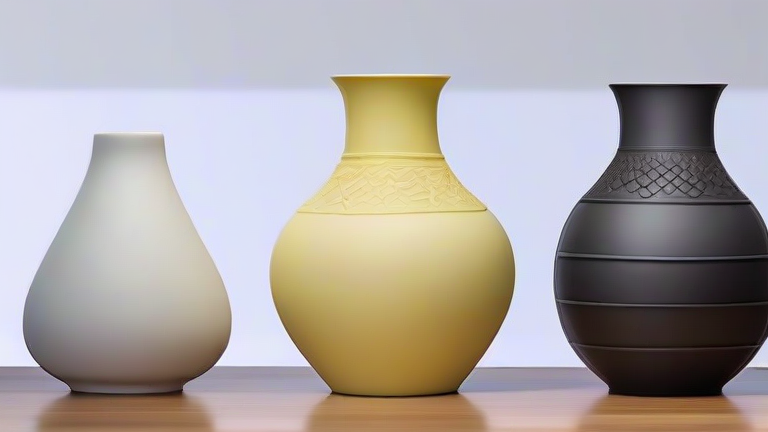
TL;DR: To make a porcelain vase, you shape clay, bisque-fire it, glaze it, and then high-fire it to vitrification. This DIY tutorial covers the entire process from wedging to the final glossy finish, with pro tips for avoiding cracks and warping.
Step 1: Prepare Your Porcelain Clay
Start with a high-quality porcelain body (like a cone 6 or cone 10 porcelain). Wedge the clay thoroughly for at least 5 minutes to remove air bubbles—air pockets cause explosions in the kiln. Keep the clay covered with a damp cloth; porcelain dries fast and cracks easily if left exposed. For a vase, you’ll need about 2–3 pounds of clay for a 6-inch tall piece.
If you want to dig deeper, check out our guide on Top 10 Porcelain Vases: Elegant Centerpieces for Every Home.
Step 2: Center and Throw the Base
On a pottery wheel, throw a centered cone, then open it with your thumbs, leaving a ¼-inch thick base. Pull the walls upward slowly, using a sponge to keep the clay lubricated. Porcelain is stiffer than stoneware, so use less water—too much makes it slumpy. Aim for even wall thickness (¼ inch) to prevent thermal shock during firing.
Step 3: Shape the Neck and Lip
Collar the top by squeezing inward with both hands to form a neck. For a classic vase, flare the lip outward using a wooden rib. Smooth the rim with a damp sponge to remove any roughness—a cracked lip is a common beginner failure. If the vase wobbles, let it firm up to “leather hard” (like hard cheddar) before trimming.
Step 4: Trim the Foot
Once leather hard, flip the vase onto a padded bat. Attach it with a few drops of water or clay slip. Use a trimming tool to carve a clean foot ring and remove excess clay from the base. Keep the foot narrow—porcelain shrinks ~12–15%, so a wide foot can warp. Let it dry slowly under plastic for 3–5 days.
Step 5: Bisque Fire
Fire the bone-dry vase to cone 04 (about 1945°F / 1063°C). This hardens the clay into a porous, chalk-like state. Cool completely before handling. Inspect for cracks; if any appear, you can repair them with porcelain slip and re-fire, but often it’s better to restart.
Step 6: Apply Glaze
Choose a glaze designed for porcelain—transparent or celadon highlights its whiteness. Dip the vase into a bucket of glaze for 3–5 seconds, or brush on 2–3 even coats. Leave a ¼-inch unglazed band at the foot so it won’t stick to the kiln shelf. Let the glaze dry completely; touch it only with clean gloves.
Step 7: High-Fire to Vitrification
Fire to your clay’s maturing temperature (cone 6: 2232°F / 1222°C, or cone 10: 2345°F / 1285°C). Porcelain becomes glass-like and translucent when thin. Cool slowly—rapid cooling causes crazing (fine cracks in the glaze). After cooling, sand the foot with fine grit if sharp.
Pro Tips for Success
Always recycle your trimmings—porcelain is expensive. Use a kiln sitter or digital controller for accurate temperature. For a glossy finish, polish the bisque with a soft cloth before glazing. Never lift a wet vase by its neck; support the base with both hands.
FAQ
Q: Can I make a porcelain vase without a pottery wheel?
A: Yes—use the coil or slab method. Roll coils and stack them, then smooth the seams with a rib. Slab-built vases are more angular but equally beautiful; just ensure seams are well-joined to avoid cracking.
Leave a Reply