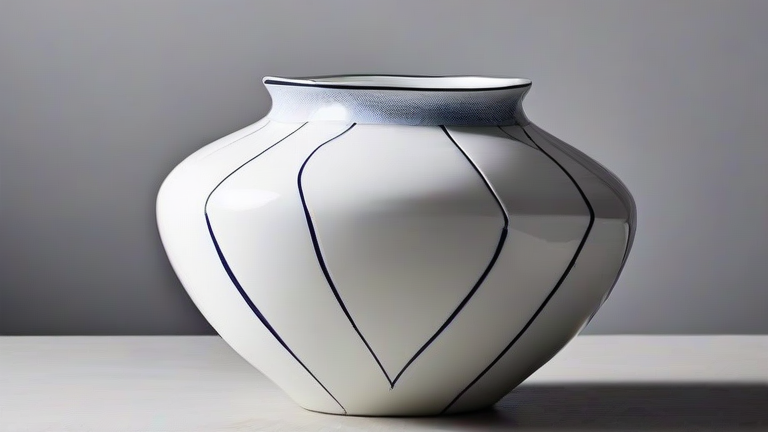
Porcelain Vase Tutorial: Step-by-Step Restoration Guide
TL;DR: Restore a broken porcelain vase by carefully aligning the shards, applying high-strength epoxy or porcelain-specific adhesive, and smoothing the surface with sandpaper for a seamless finish. Proper cleaning and curing are essential to ensure the bond lasts for decades without visible seams.
Understanding the Damage
Before beginning any restoration work on your porcelain vase, it is crucial to assess the extent of the damage. Porcelain is a non-porous material, which means it does not absorb liquids like earthenware, but it is also brittle. Check for hairline cracks, missing chips, or completely separated pieces. If the vase is antique, consult with a professional conservator before attempting DIY repairs, as improper handling can destroy its historical value. For modern or non-antique porcelain vases, a DIY approach is often sufficient to return the piece to its original glory.
If you want to dig deeper, check out our guide on Here are a few SEO-optimized title options (all under 70 cha.
Gathering the Necessary Tools
To successfully restore a porcelain vase, you will need specific tools and materials. Start with a mild dish soap and a soft cloth for cleaning. You will also need a high-quality porcelain adhesive, such as two-part epoxy or a specialized porcelain repair kit. Fine-grit sandpaper (400 to 800 grit), a toothpick for applying adhesive, and blue painter’s tape are also essential. Ensure you work in a well-ventilated area and wear gloves to protect your hands from chemicals.
Step-by-Step Restoration Process
First, thoroughly clean all broken pieces with mild soap and warm water. Remove any old adhesive residue using a soft cloth dampened with rubbing alcohol. Once the pieces are completely dry, arrange them on a flat, stable surface to visualize how they fit together. This dry-fit step helps you identify any missing fragments and ensures perfect alignment. Tip: Take photos of the arrangement to serve as a reference while working.
Next, apply a small amount of adhesive to the break lines using a toothpick. Be careful not to use too much, as excess glue will create unsightly bumps that are difficult to sand down. Press the pieces together gently and hold them in place for the recommended time. Use blue painter’s tape to secure the pieces if the adhesive requires a long curing period. Ensure the vase is level to prevent the pieces from shifting as the glue dries.
After the adhesive has fully cured, which may take 24 to 48 hours, inspect the repair. If there are any excess glue bumps, carefully sand them down using fine-grit sandpaper. Work slowly and gently to avoid scratching the surrounding porcelain. Wipe the area clean with a damp cloth to reveal the finished repair. For visible seams, you can use a matching porcelain paint or a specialized repair kit that includes color-matching pigments to blend the seam into the vase’s overall design.
Finally, allow the painted or sealed area to dry completely before handling the vase. Avoid filling the vase with water or placing heavy objects on it until the repair is fully set. Regular maintenance involves gentle cleaning with a soft cloth to prevent dust buildup, which can obscure the repair over time.
FAQ
Q: Can I use super glue to repair a porcelain vase?
A: It is not recommended because super glue can turn yellow over time and may not provide a strong enough bond for heavy porcelain pieces.
Q: How do I hide the repair line on the vase?
A: Use a porcelain-specific repair kit that includes color-matching paint and a glaze to blend the adhesive seam into the vase’s surface.
Q: Is it safe to put water in a restored porcelain vase?
A: Yes, provided you use a food-safe, waterproof adhesive and ensure the repair is fully cured and sealed before use.
Leave a Reply