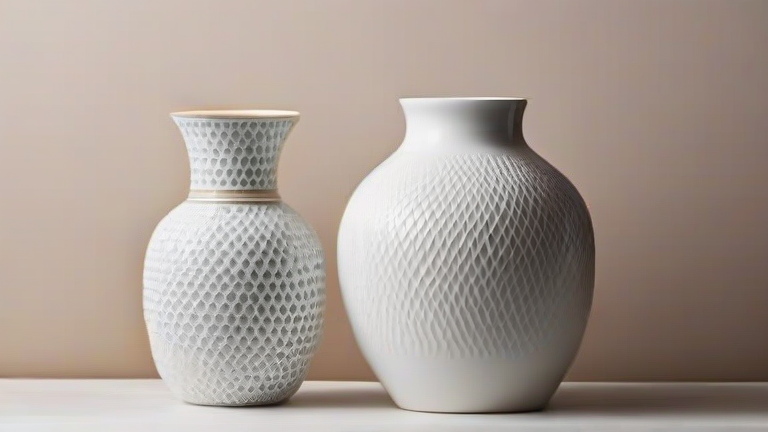
TL;DR: Making porcelain vases involves shaping white kaolin clay on a wheel or by hand, then bisque-firing, glazing, and high-firing at over 2,300°F to achieve translucency and strength. This DIY tutorial covers the full process from wedging to final kiln care, with pro tips for avoiding cracks and warping.
Step 1: Prepare Your Porcelain Clay
Start with a commercial porcelain body (e.g., cone 10 porcelain) containing kaolin, feldspar, and quartz. Wedge 1–2 pounds of clay on a plaster bat to remove air bubbles—porcelain is finicky, and trapped air causes explosions in the kiln. Knead until the clay is uniform and has a smooth, plastic consistency. Cover with a damp cloth to prevent drying.
If you want to dig deeper, check out our guide on Top 10 Porcelain Vases: Trends, Styles & Care Guide.
Step 2: Center and Throw the Base
Place the wedged ball on a bat attached to a pottery wheel. Wet your hands, then center the clay at a slow speed (200–300 RPM). Press down with your palms to create a dome, then pull up into a cone. Once centered, press your thumb into the center to create a 1-inch-deep hole, leaving a 1/4-inch thick base. Open the form slowly to avoid tearing the porcelain walls.
Step 3: Pull the Walls and Shape the Vase
With the wheel at medium speed, use your fingers (inside and outside) to pull the walls upward in 4–5 passes. Keep the walls an even 3/8-inch thick—porcelain collapses easily if too thin. Shape the belly, neck, and lip using a rib tool. For a classic vase, flare the lip outward with a sponge. Let the vase firm to leather-hard (about 2 hours) before trimming.
Step 4: Trim and Refine the Foot
Once leather-hard, place the vase upside down on the wheel, centering it with a chuck. Use a trimming tool to carve a foot ring, removing excess clay from the base. Smooth all edges with a damp sponge. Check for cracks—porcelain dries fast, so cover with plastic if you need a break.
Step 5: Bisque Fire and Glaze
Dry the vase slowly for 5–7 days under plastic, then open air. Load into a kiln and bisque fire to 1,945°F (cone 06). After cooling, sand any rough spots. Apply 2–3 coats of a food-safe porcelain glaze (e.g., clear or celadon) using a brush or dip. Let each coat dry 20 minutes. Wipe the foot ring clean to prevent sticking.
Step 6: High-Fire and Cool Slowly
Fire the glazed vase to cone 10 (2,350°F) in an oxidation or reduction kiln. The glaze will melt and vitrify, making the vase waterproof and translucent at thin edges. Cool the kiln slowly—no faster than 100°F per hour—to prevent dunting (thermal shock cracks). Wait 12–24 hours before opening.
Pro Tips for Success
Always recycle your porcelain trimmings—it’s expensive. Avoid adding too much water during throwing, as porcelain can become sloppy. If the vase warps, fire it on a kiln shelf with a thin layer of alumina powder. For a matte finish, use a satin glaze instead of glossy.
FAQ
Q: Can I make porcelain vases without a pottery wheel?
A: Yes—use coil or slab building. Roll coils 1/2-inch thick, stack them, and blend seams with a rib. Slab construction works for angular vases. Just keep all seams wet and compressed to prevent cracking.
Q: Why did my porcelain vase crack during drying?
A: Cracks come from uneven thickness or too-rapid drying. Keep walls uniform
Leave a Reply