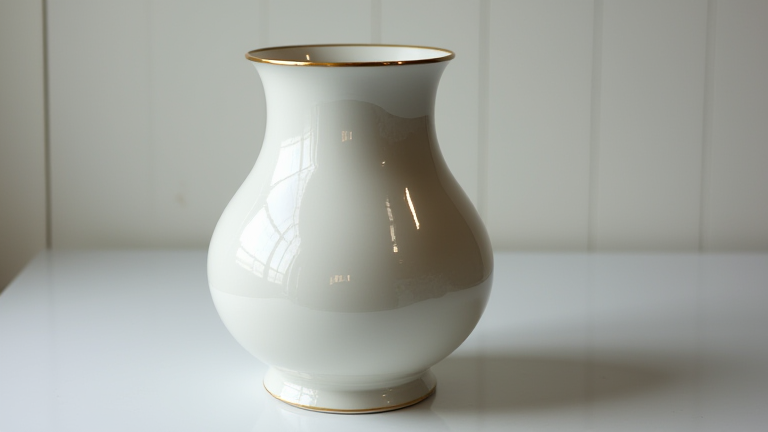
TL;DR: You can repair a cracked or chipped porcelain vase at home using epoxy, filler, and fine sandpaper, restoring both structure and appearance. The key is working slowly in layers, matching the glaze with paint, and using a waterproof sealant for a durable finish.
Porcelain Vase Restoration: Step-by-Step DIY Repair Tutorial
Porcelain vases are treasured for their delicate beauty, but accidents happen. Before you toss that heirloom, know that most damage—from hairline cracks to missing chips—is fixable with a few hours of careful work. This guide walks you through a professional-grade repair using household and craft-store supplies.
If you want to dig deeper, check out our guide on Porcelain Vases: Health Risks & Safe Cleaning Tips.
Step 1: Clean and Assess the Damage
Wash the vase with warm water and a drop of dish soap, then dry it completely. Use a soft brush to remove dust from crevices. Examine the break: if pieces are missing, gather any fragments. If the vase is cracked but intact, skip to Step 3. For shattered pieces, dry-fit them together first to confirm the puzzle before applying adhesive.
Step 2: Rejoin Broken Fragments
Apply a thin layer of two-part epoxy (clear, waterproof) to one edge of each fragment. Press pieces together firmly, holding for 60 seconds. Wipe away excess epoxy with a cotton swab dipped in acetone. Let the vase rest for 24 hours in a warm, dry place. For large gaps, use painter’s tape to hold seams while curing.
Step 3: Fill Chips and Cracks
For missing chunks, mix a two-part porcelain filler (or epoxy putty) and press it into the void using a toothpick. Overfill slightly to allow for sanding. For hairline cracks that don’t separate, work a thin cyanoacrylate (super glue) into the line, then sprinkle baking soda over it—this creates a hard, sandable filler. Let cure fully.
Step 4: Sand to Perfection
Once the filler is hard, use fine-grit wet/dry sandpaper (400-grit, then 800-grit) dipped in water. Sand in circular motions, feathering the edges flush with the surrounding glaze. Rinse and dry. For glossy vases, finish with 1500-grit to mimic the original sheen. Avoid over-sanding the intact glaze—you want a smooth transition, not a dull patch.
Step 5: Prime and Paint
Apply a thin coat of ceramic primer (spray or brush-on) to the repaired area. Let dry, then paint with acrylic enamel matched to the vase’s base color. Use a fine artist’s brush for intricate patterns. For multicolored designs, layer paints, waiting 30 minutes between coats. Seal with a clear gloss or matte varnish—choose the same finish as the rest of the vase.
Step 6: Final Polish and Seal
After the paint dries (48 hours), buff the repaired area with a soft cloth. For extra durability, apply a thin layer of UV-resistant clear epoxy over the repair, especially on rims or handles that get handled often. Let cure for 72 hours before displaying. Avoid dishwasher or microwave use—hand wash only.
Tips for Success
Work in a well-ventilated area and wear nitrile gloves. Use a magnifying lamp for fine details. If the vase is valuable or antique, consider a professional conservator instead—DIY repair may reduce its monetary value. Always test paints and fillers on a hidden spot first.
FAQ
Q: Can I use regular super glue instead of epoxy for porcelain?
A: Yes, for small, non-stress fractures, but epoxy is better for large breaks because it fills gaps and is more flexible, reducing future cracking.
Q: How do I match the exact glaze color of my porcelain vase?
A: Take a high-resolution photo of
Leave a Reply