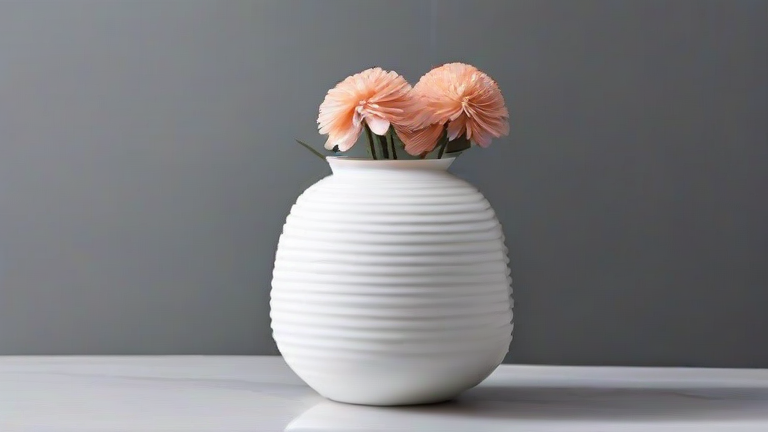
DIY Porcelain Vase Tutorial: Step-by-Step Guide
TL;DR: Create a stunning porcelain vase by throwing a cylinder on a wheel, trimming the base, and bisque firing it before applying glaze. Mastering centering and maintaining consistent wall thickness are the critical skills for achieving a professional finish.
Creating your own porcelain vase is a rewarding artistic endeavor that transforms raw clay into a delicate, translucent masterpiece. Porcelain is known for its high firing temperature and unique white body, which allows light to pass through thin sections, creating an ethereal glow. This guide walks you through the essential steps to craft a simple yet elegant cylinder vase, suitable for intermediate potters. Before beginning, ensure your porcelain body is well-wedged to remove air bubbles, as trapped air can cause catastrophic explosions during the high-temperature firing process. Select a medium-hard porcelain blend that offers good plasticity for throwing while maintaining structural integrity.
If you want to dig deeper, check out our guide on The Viral Skincare Trend: Why Niacinamide Serums Are Everywh.
Step 1: Centering the Clay
The foundation of any successful vase lies in perfect centering. Place a lump of porcelain, roughly the size of a grapefruit, in the center of the wheel head. Wet your hands and the clay with water. Using your palms, push the clay down and out in a circular motion, then repeat with a slightly smaller motion. This process, called wedging on the wheel, aligns the particle structure. The clay is centered when it spins without wobbling. If it wobbles, repeat the centering process. Patience is key here; rushing this step leads to lopsided results later.
Step 2: Opening and Pulling Walls
Once centered, make a vertical thumb hole in the center. Use your thumbs to push the hole downward, widening the opening. Keep the walls wet to prevent cracking. Begin pulling the walls upward with your fingers inside and a damp sponge or cloth outside. Apply even pressure to maintain uniform thickness. For a porcelain vase, aim for walls no thicker than 3 to 5 millimeters. Thinner walls enhance the translucency of the final piece. Pull in three to four stages, allowing the clay to settle between pulls. Keep the rim even and the profile straight for a classic look.
Step 3: Trimming and Refining
Allow the vase to reach leather-hard stage, where it is firm but still slightly moist. Place it upside down on a trimming tool. Use a rib tool to smooth the exterior, removing throwing lines. Trim the foot ring to create a stable base. Use a wire tool to clean up the foot edge. Finally, apply a slip or underglaze if you desire a contrasting base color before glazing. Ensure all surfaces are smooth and free of imperfections, as glaze will highlight any flaws in the clay body.
Step 4: Firing and Glazing
Fire the piece to bisque temperature, usually around 1000°C, to harden the clay. Once cooled, apply your chosen glaze. Porcelain accepts a wide variety of glazes, from clear gloss to matte finishes. Use a dip, brush, or pour method. Ensure even coverage to avoid bare spots. Fire the glazed piece to cone 10 or 12, depending on your specific porcelain and glaze requirements. The high heat vitrifies the body, making it water-tight and durable. Let the piece cool slowly in the kiln to prevent thermal shock.
Essential Tips for Success
Always keep a spray bottle nearby to keep the clay moist during throwing. Work in a well-ventilated area, as porcelain dust can be harmful if inhaled. Use a wooden rib for gentle shaping and a metal rib for firm definition. If the vase cracks during drying, patch it with slip and a piece of clay of the same texture. Remember that porcelain is unforgiving of haste, so take your time at every stage. The result will be a vase that is not only functional but also a testament to your craftsmanship.
FAQ
Q:
Leave a Reply