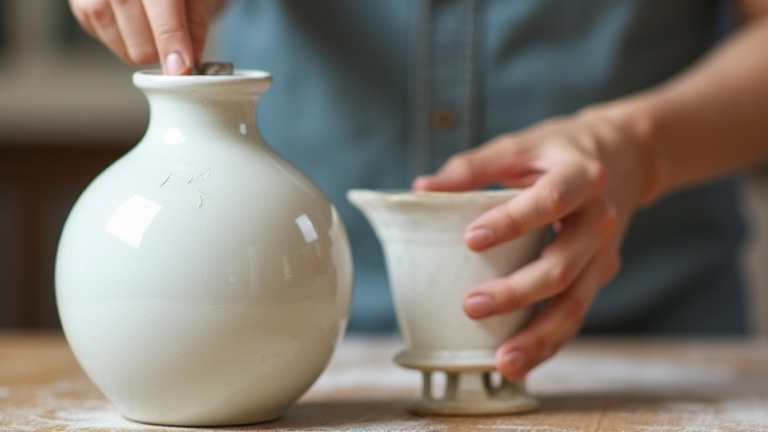
TL;DR: To repair a broken porcelain vase, clean the shards, align them carefully, and secure them with strong two-part epoxy or specialized ceramic adhesive. After the initial bond sets, fill visible gaps with matching putty, sand it smooth, and apply a protective glaze to restore the vessel’s aesthetic integrity and structural strength.
Gather Your Essential Tools and Materials
Before beginning, ensure you have all necessary supplies. You will need a mild detergent for cleaning, rubbing alcohol for degreasing, superglue or two-part epoxy for bonding, ceramic filler putty, fine-grit sandpaper, and a soft cloth. Safety is paramount; wear protective gloves and eye protection to avoid cuts from sharp porcelain edges. Lay out a soft towel or foam board to prevent further breakage while you work. Sorting all shards by size and location is crucial. Labeling them with masking tape on a piece of cardboard can help you remember their original positions. This preparation phase ensures that the repair process is efficient and reduces the risk of losing small, fragile fragments that are often difficult to locate once scattered.
If you want to dig deeper, check out our guide on Top 10 Porcelain Vases: Trends, Styles & Care Guide.
Clean and Prepare the Fragments
Thoroughly wash each shard with warm water and mild soap to remove dust and debris. Rinse well and dry completely. Any dirt or grease on the broken edges will compromise the adhesive bond, leading to future failure. Use rubbing alcohol on a cotton swab to wipe the fracture lines, ensuring they are chemically clean. Allow the pieces to air dry for at least an hour. Inspect each fragment for cracks or chips. If a shard is too small to hold securely, consider using a fine mesh screen to hold it in place while the glue sets. Patience is key here; rushing this step often results in misaligned repairs that are visible to the naked eye.
Assemble and Bond the Vase
Apply a thin, even layer of adhesive to one side of the fracture line. Avoid using too much glue, as excess will squeeze out and create unsightly bumps that are difficult to remove later. Press the pieces together firmly and hold them in place for the time recommended by the adhesive manufacturer. For large gaps, use masking tape or rubber bands to hold the sections securely. Allow the bond to cure fully, which usually takes twenty-four hours. Do not disturb the vase during this period. Once hardened, check the stability of the repair. If the vase feels loose, apply additional adhesive to the weak points and re-clamp until secure.
Fill Gaps and Finish the Surface
After the structural bond is complete, address any visible gaps or missing chips. Mix ceramic filler putty according to the package instructions. Apply it to the gaps using a small spatula or toothpick. Smooth the surface as much as possible. Once the putty dries, it will be hard. Use fine-grit sandpaper to sand the filled areas until they are flush with the surrounding porcelain. Be gentle to avoid scratching the original glaze. Wipe away all dust with a damp cloth. For a professional finish, apply a thin layer of clear ceramic paint or glaze over the repaired area. This seals the repair and helps blend the color with the rest of the vase, making the damage less noticeable.
FAQ
Q: Can I use regular household glue for a porcelain vase?
A: No, standard household glues are not strong enough for structural repairs on porcelain. Use specialized ceramic adhesives or two-part epoxy that can withstand weight and moisture.
Q: How do I match the color of the filler putty?
A: Mix the base putty with a small amount of acrylic paint that matches your vase’s color. Test the mixture on a hidden area before applying it to the main repair zone.
Q: Will the repaired vase be safe for food storage?
A: Most ceramic adhesives and fillers are not food-safe. It is best to use repaired porcelain vases for decorative purposes only, such as holding fresh flowers or dried botanicals.
Leave a Reply