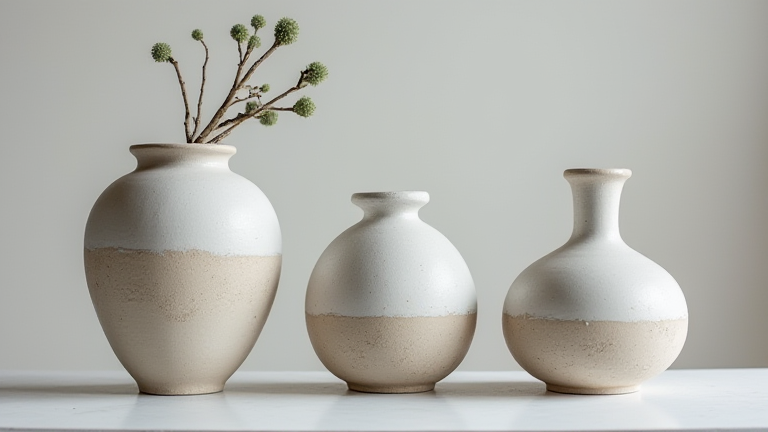
TL;DR: Create your own porcelain vase by shaping a clay body, bisque firing it, and applying a glaze before the final high-temperature firing. This process requires patience, proper kiln access, and careful attention to drying times to ensure structural integrity and aesthetic perfection.
Step 1: Prepare Your Materials and Workspace
Begin by gathering high-quality porcelain clay, which is known for its translucency and strength. Ensure your workspace is clean and well-ventilated. You will need modeling tools, a wire cutter, and a smooth surface for working. Porcelain is more prone to cracking than stoneware, so handle it with extra care. Allow the clay to reach room temperature before starting to prevent thermal shock during the initial forming stages.
If you want to dig deeper, check out our guide on Porcelain Vases & Health: Safe Materials and Air Quality.
Step 2: Form the Vase Body
Choose a technique such as wheel throwing or hand-building. For wheel throwing, center the clay firmly to avoid wobbles. Pull up the walls evenly, keeping them thin but consistent, as porcelain becomes very thin after glazing. If hand-building, use coil or slab methods, ensuring all joints are thoroughly blended. Maintain a symmetrical silhouette for a professional look. Remember that porcelain shrinks significantly during firing, so make your piece slightly larger than your desired final size.
Step 3: Dry and Trim
Allow the vase to dry slowly to leather-hard stage, then trim the foot if necessary. Cover the piece with plastic to ensure even drying. Rushing this step can cause catastrophic cracks. Once bone dry, inspect the piece for any flaws. Porcelain’s fine texture means that even minor imperfections will be visible in the final glaze. Smooth out any rough edges with sandpaper or a damp sponge.
Step 4: Bisque Fire
Load the dried vase into your kiln for the bisque firing. This low-temperature firing removes chemical water and converts the clay into a porous ceramic. The goal is to create a stable base for glazing without vitrifying the surface completely. Ensure the kiln shelves are clean and use kiln wash to prevent sticking. Monitor the temperature closely, as porcelain is sensitive to rapid temperature changes.
Step 5: Glaze Application
Once the bisque has cooled, apply your chosen glaze. Porcelain accepts glazes beautifully, enhancing its natural whiteness or providing vibrant colors. Dip, pour, or brush the glaze evenly to avoid runs or thin spots. Ensure the foot is clear of glaze to prevent it from fusing to the kiln shelf. Consider layering glazes for depth and complexity. Let the glaze dry completely before firing.
Step 6: Final Firing
Place the glazed vase in the kiln for the final glaze firing. This high-temperature process vitrifies the clay and melts the glaze into a smooth, glossy finish. Follow the specific temperature requirements for your glaze and clay body. Allow the kiln to cool naturally before opening the door. This slow cooling prevents thermal shock and ensures the vase remains intact.
FAQ
Q: Can I make porcelain vases without a kiln?
A: No, true porcelain requires high-temperature kiln firing to achieve its characteristic strength and translucency. Alternative methods result in different materials like ceramic or plaster.
Q: How long does the entire process take?
A: The total time includes several weeks for drying and multiple firing cycles, typically spanning four to six weeks from start to finish depending on your schedule and kiln availability.
Q: What are common mistakes to avoid?
A: Common errors include drying too quickly, applying uneven glaze, and firing at incorrect temperatures. Always prioritize slow, even drying and precise temperature control to prevent cracking and glaze defects.
Leave a Reply