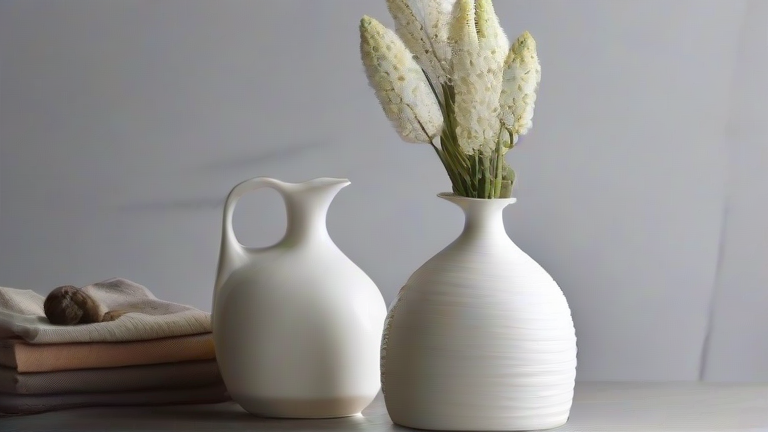
TL;DR: To make porcelain vases, you must prepare high-plasticity porcelain clay, wheel-throw or hand-build the form, and bisque fire it to 1000°C before applying glaze and firing again to 1300°C. Success depends on maintaining consistent moisture levels and controlling kiln atmosphere to prevent cracking and achieve a smooth, translucent finish.
Preparation and Materials
Begin by selecting a quality porcelain body with good plasticity. Porcelain is more sensitive to drying than earthenware, so it requires careful handling. Prepare your workspace by mixing the clay on a slab for thirty minutes to remove air bubbles. Wedge the clay thoroughly using the ram’s head method until it feels uniform and smooth. This step is crucial because any remaining air pockets can cause the vase to explode during the bisque firing. Keep a damp cloth nearby to cover your work, as porcelain dries rapidly and can crack if exposed to air for too long.
If you want to dig deeper, check out our guide on Porcelain Vase Tutorial: DIY Painting & Care Guide.
Forming the Vase
For beginners, hand-building is often more forgiving than wheel-throwing, but both methods work. If wheel-throwing, center the clay carefully and pull up thin, even walls. Porcelain shrinks significantly during firing, so aim for walls that are slightly thicker than you think you need. If hand-building, use the coil method to build up the vase walls gradually. Score and slip each joint to ensure a strong bond. Use a flexible rib to smooth the exterior and interior surfaces. Pay close attention to the rim, ensuring it is level and even. Once the form is complete, allow the vase to dry slowly to a leather-hard stage. This is the ideal time to trim the foot and add any decorative details such as handles or carved patterns. Use sharp tools for carving, as porcelain holds fine detail well. Cover the piece with plastic and let it dry completely over several days. Ensure even drying by turning the piece regularly.
Firing and Glazing
Once the vase is bone dry, place it in the kiln for the bisque firing. Set the kiln to reach 1000°C with a slow ramp to prevent thermal shock. After the bisque firing, the vase becomes porous and ready for glazing. Prepare a porcelain-specific glaze, which typically contains feldspar and silica. Apply the glaze evenly using dipping or pouring methods. Be careful not to pool glaze at the bottom, as this can cause the vase to stick to the kiln shelf. Wipe the foot area clean with a cloth to ensure proper placement. Allow the glazed vase to dry completely before the second firing. The glaze firing should reach 1300°C to 1350°C, which melts the glaze and fuses it to the porcelain body. Monitor the kiln closely during the cooling phase. Rapid cooling can cause thermal shock and crack the vase. Let the kiln cool to below 100°C before opening it to reveal your finished porcelain vase.
FAQ
Q: Why does my porcelain vase crack during drying?
A: Cracking usually results from uneven drying or air bubbles trapped in the clay. Ensure slow, consistent drying by covering the piece and turning it regularly, and wedge your clay thoroughly to remove all air pockets before forming.
Q: What is the difference between bisque firing and glaze firing?
A: Bisque firing cures the clay body at a lower temperature, making it porous and ready for glazing. Glaze firing reaches a higher temperature, melting the glaze to form a glassy surface and fully vitrifying the porcelain body.
Q: Can I use any glaze on porcelain vases?
A> No, you should only use glazes specifically formulated for high-fire porcelain. Standard low-fire glazes will not melt properly at porcelain temperatures and may result in a matte, non-adherent finish or chemical separation.
Leave a Reply