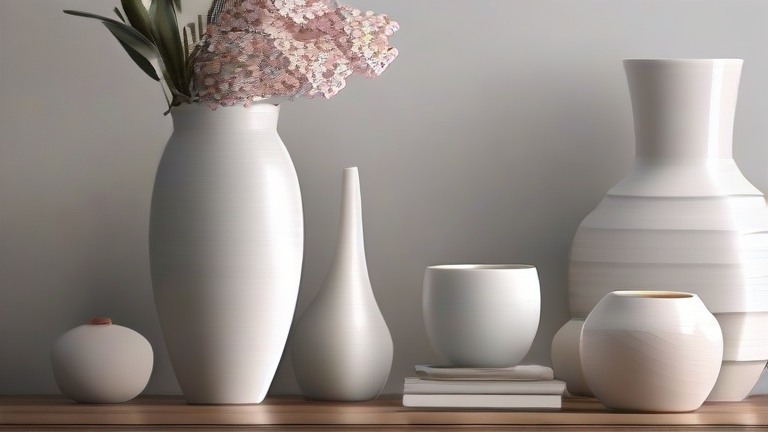
Porcelain Vase Tutorial: DIY Painting & Care Guide
TL;DR: To paint a porcelain vase successfully, clean the surface thoroughly and use high-quality ceramic paint with a thin, even application followed by proper curing. For long-term care, hand wash gently with mild soap and avoid abrasive cleaners or extreme temperature shocks to maintain your artwork’s integrity.
Preparation and Surface Cleaning
Before beginning any artistic project on a porcelain vase, preparation is critical. Porcelain is notoriously smooth and non-porous, which can cause paint to peel if not properly treated. Start by washing the vase with warm water and dish soap to remove any factory residues, oils, or dust. Pay special attention to the rim and base, as these areas often accumulate invisible greases. After washing, rinse thoroughly and dry the vase completely. Once dry, lightly sand the surface with 400-grit sandpaper to create a slight texture that helps the paint adhere. Wipe the vase down with a lint-free cloth dampened with rubbing alcohol to remove any remaining dust particles. Allow the alcohol to evaporate completely before proceeding. This step ensures that the bond between the vase and the paint is strong and lasting, preventing future chipping or flaking.
If you want to dig deeper, check out our guide on Here are a few options, ranging from artistic to technical:
.
Step-by-Step Painting Instructions
Select high-quality ceramic paint specifically designed for glazed surfaces. Standard acrylics or oils will not adhere properly to porcelain. Start with a primer if recommended by your paint manufacturer, as this provides an even base for your design. Apply paint in thin layers rather than one thick coat. Thick layers are prone to cracking as they dry and cure. Use a fine-tip brush for detailed work and a broader brush for background colors. Allow each layer to dry completely before applying the next. If you are creating complex patterns, consider using stencils or tape to achieve clean lines. Work in a well-ventilated area to avoid inhaling fumes. Once your design is complete, let the vase dry for at least twenty-four hours. Many ceramic paints require curing in an oven to become dishwasher safe and durable. Follow the specific instructions on your paint label regarding temperature and time. If your vase is too large for a standard oven, look for air-dry ceramic paints that cure at room temperature over several days.
Essential Care and Maintenance Tips
Proper care is essential to preserve the beauty of your painted porcelain vase. Avoid placing hot items directly into the vase, as sudden temperature changes can cause the porcelain to crack or the paint to bubble. When cleaning, always use a soft cloth and mild dish soap. Never use abrasive scrubbers or harsh chemical cleaners, as these can scratch the paint and damage the delicate glaze. If you use the vase for fresh flowers, ensure the stems are cut properly to prevent bacterial growth, which can stain the interior. Store your vase in a cool, dry place away from direct sunlight. Prolonged exposure to UV rays can cause some paints to fade over time. By following these simple maintenance steps, your custom-painted porcelain vase will remain a stunning centerpiece for years to come. Regular inspection for any chips or cracks will help you catch minor issues before they become major problems.
FAQ
Q: Can I use regular acrylic paint on porcelain vases?
A: No, regular acrylic paint does not adhere well to non-porous porcelain surfaces and will likely peel or flake off within a few days. You must use specialized ceramic paint or enamel designed for glass and porcelain.
Q: How do I make my painted vase dishwasher safe?
A: To make a painted vase dishwasher safe, you must use paints explicitly labeled for oven-curing and dishwasher durability. After painting, bake the vase in the oven according to the manufacturer’s specific temperature and time guidelines to fuse the paint to the surface.
Q: What should I do if the paint bubbles or cracks after drying?
A: Bubbling or cracking usually occurs from applying paint too thickly or curing the vase too quickly. To fix it, you may need to gently sand down the affected area, clean it with alcohol, and
Leave a Reply