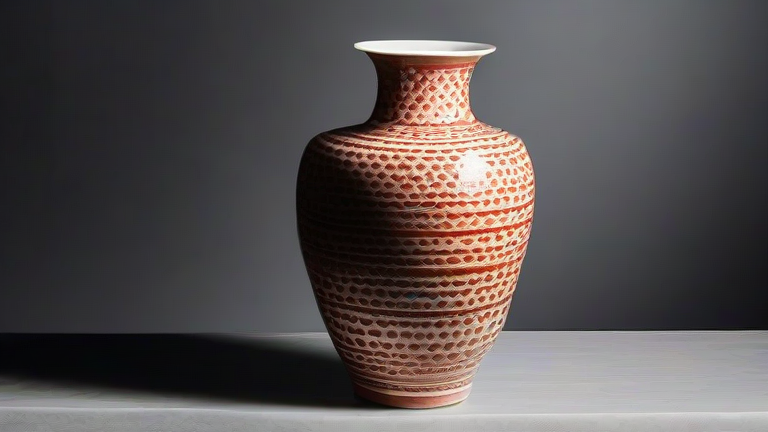
TL;DR: Clean your porcelain vase weekly with a soft microfiber cloth and pH-neutral soap, never abrasive pads, and restore chips or cracks using a two-part epoxy designed for ceramics before touching up with porcelain-safe paint. For deep restoration, always test any chemical or adhesive on the vase’s unglazed base first to prevent irreversible damage.
Step 1: Assess the Damage Before You Touch Anything
Place the vase on a padded, stable surface under bright, indirect light. Run your fingers (wearing cotton gloves) along the surface to detect hairline cracks, chips, or “crazing” (fine spiderweb cracks in the glaze). Use a magnifying loupe to inspect the rim, foot, and handles—these stress points fracture most often. If you find loose fragments, store them in a sealed plastic bag; do not attempt to glue them yet, as misalignment will ruin the vase’s profile.
If you want to dig deeper, check out our guide on Why the “Quiet Luxury” Trend Is Boosting Cashmere Sweater Sa.
Step 2: Routine Cleaning—The Gentle Method
Dust the vase first with a soft, dry paintbrush or a makeup brush to remove abrasive particles. Fill a plastic basin with lukewarm water (never hot—thermal shock can crack glaze) and add 3 drops of pH-neutral dish soap. Dip a microfiber cloth into the water, wring it until barely damp, and wipe the exterior in straight, top-to-bottom strokes. For intricate relief patterns, use a soft-bristled toothbrush dipped in the same solution, working in small circles. Rinse the cloth in clean water and wipe again to remove soap residue. Dry immediately with a second microfiber cloth to prevent water spots. Never submerge a vase with cracks or unglazed bases—water can seep into the bisque and cause mold or glaze lifting.
Step 3: Removing Stubborn Stains and Mineral Deposits
For white or light-colored porcelain, create a paste of baking soda and distilled water (1:3 ratio). Apply it with a cotton swab only to the stained area, let sit for 90 seconds, then wipe off with a damp cloth. For hard water rings near the rim, dip a cotton ball in white vinegar (diluted 1:1 with water), dab it on the stain, and rinse immediately—vinegar is acidic, so keep contact under 20 seconds. If the stain persists, use a commercial porcelain cleaner labeled “non-abrasive” and follow the label’s dwell time exactly.
Step 4: Repairing Chips and Cracks—Epoxy and Paint
For a chip, clean the area with isopropyl alcohol and let dry. Mix a two-part epoxy (e.g., JB Weld PlasticWeld or a ceramic-specific adhesive) on a disposable card. Use a toothpick to apply a tiny bead into the chip cavity. Press the fragment (if you have it) into place, or fill the gap entirely for a missing chip. Hold firm for 2 minutes, then let cure for 24 hours. Once hard, sand the excess with 2000-grit wet/dry sandpaper dipped in water, using light circular motions. For hairline cracks without missing pieces, apply epoxy along the crack line with a needle-tip applicator, then wipe off excess with a damp cloth before it sets. After curing, touch up the repaired area with a porcelain paint pen (like Pebeo Porcelaine 150) matching the glaze color. Apply two thin coats, letting each dry for 30 minutes, then bake the vase in a cold oven at 300°F for 35 minutes if the paint requires heat-setting—check the pen’s instructions.
Step 5: Final Polishing and Protective Care
After repairs, buff the entire vase with a dry, lint-free cotton cloth using slow, overlapping strokes to restore luster. Apply a thin layer of microcrystalline wax (e.g., Renaissance Wax) to the repaired area only, using a soft cloth, then buff for 10 seconds. This seals the epoxy and prevents moisture ingress. Store the vase on a felt-lined shelf away from direct sunlight (UV fades glaze pigments) and away from heating
Leave a Reply