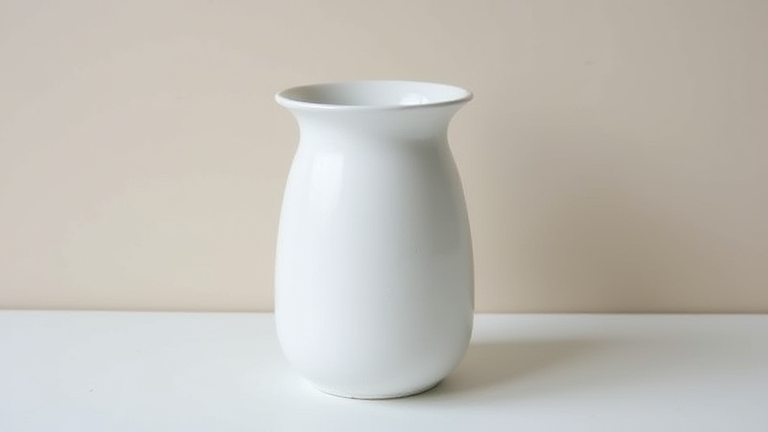
TL;DR: To DIY a porcelain vase, you will shape clay on a wheel or by hand, then bisque-fire, glaze, and high-fire it in a kiln. This guide covers the full process, from prepping the clay to the final glossy finish, with pro tips for avoiding cracks and bubbles.
Step 1: Prepare Your Clay and Workspace
Choose a low-fire or mid-fire porcelain clay body (like cone 06–6) for beginner success. Wedge the clay thoroughly to remove air pockets—knead it for at least 5 minutes until it’s smooth and uniform. Cover your worktable with canvas and keep a spray bottle of water nearby. Roll out a slab (½-inch thick) if hand-building, or center a 2-pound ball on a pottery wheel for throwing.
If you want to dig deeper, check out our guide on Why the “Quiet Luxury” Trend Is Boosting Cashmere Sweater Sa.
Step 2: Shape the Vase Body
For wheel-throwing: center the clay, open a hole with your thumb, and pull the walls upward using even, steady pressure. Keep your hands lubricated. For hand-building: use the coil method—stack rolled coils and blend the seams with a rib tool. Shape the neck by narrowing the top while supporting the belly with your opposite hand. Aim for even wall thickness (¼ inch) to prevent thermal shock later.
Step 3: Dry to Bone-Dry and Bisque Fire
Let the vase dry slowly under plastic wrap for 3–5 days, then uncovered for 2 days until it’s completely dry (no cool spots on your cheek). Fire it in a kiln to cone 04 (about 1945°F) for the bisque firing. This makes the porcelain porous and ready for glaze. Cool completely before handling.
Step 4: Apply Glaze
Choose a food-safe, glossy porcelain glaze for a classic look. Stir the glaze well; dip the vase for 3 seconds, or brush on 2–3 even coats. Tape the foot ring with wax resist to keep it unglazed (prevents sticking to kiln shelves). Let the glaze dry completely. Check for runs or pinholes—smooth those with a damp sponge.
Step 5: Glaze Fire and Finish
Fire to the glaze’s recommended cone (usually cone 5–6, about 2200°F). Use kiln posts or a stilt to support the vase. After cooling, inspect for crazing (tiny cracks) or bubbles. If minor, you can sand with fine-grit wet paper. For a satin sheen, polish with a soft cloth. Your porcelain vase is now waterproof and ready for display.
Pro Tips
Always test glaze on a small sample tile first—porcelain shrinks ~12–15%, so glaze fit matters. Avoid over-wetting the clay during throwing; this causes slumping. For a matte finish, use a matte glaze and fire 10°F cooler than the max.
FAQ
Q: Can I use a home oven instead of a kiln for porcelain?
A: No—porcelain requires 2200°F+, which home ovens cannot reach. Use a community kiln or a ceramic studio.
Q: Why did my vase crack during drying?
A: Rapid drying or uneven wall thickness causes stress. Dry slowly under plastic, and keep walls uniform (¼ inch).
Q: Is porcelain vase glaze safe for fresh flowers?
A: Yes, if you use a food-safe, non-toxic glaze and fire it to full maturity. Avoid lead-based or metallic glazes for water contact.
Leave a Reply