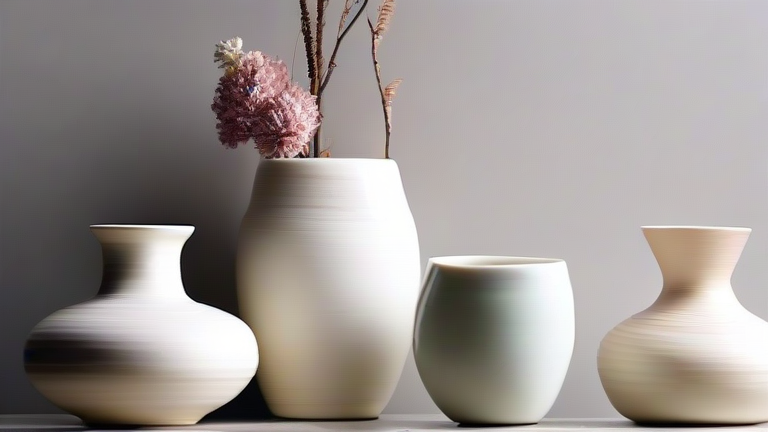
How to Glaze Porcelain Vases: Step-by-Step DIY Tutorial
TL;DR: To glaze porcelain vases, you must first ensure the bisque-fired piece is completely clean and free of dust before applying a thin, even layer of glaze using a dip, pour, or brush method. After drying, the vase must be loaded carefully into the kiln and fired at the specific temperature required by your chosen glaze, typically between 1800 and 2300 degrees Fahrenheit, to achieve a glossy, durable finish.
Preparation and Surface Readiness
The foundation of a successful glaze application lies in meticulous preparation. Porcelain is a high-fire clay body that requires specific handling to prevent defects. Begin by ensuring your vase has undergone a bisque firing. This initial firing turns the raw clay into a porous ceramic, allowing the glaze to bond chemically rather than just physically. Before touching the glaze, inspect the surface for any pinholes, cracks, or residual dust. Use a soft, clean brush to remove any particulate matter. Even a single speck of dust can create a “pinhole” or “crawl” in the final glaze, ruining the aesthetic appeal. If you are using a new vase, ensure the interior is also clean. For optimal results, lightly dampen the surface with a sponge to raise the dust, then wipe it away with a dry cloth. This step ensures the glaze adheres uniformly, preventing uneven thickness that leads to cracking during the firing process.
If you want to dig deeper, check out our guide on Porcelain Vases & Health: Are They Safe? Facts.
Applying the Glaze
Once the surface is pristine, you can begin applying the glaze. For porcelain vases, dipping is often the most efficient method for achieving a uniform coat. Prepare a glaze bucket with a slurry consistency, similar to heavy cream. Dip the vase quickly and steadily, ensuring the glaze flows evenly down the sides. Immediately lift the piece and allow excess glaze to drip back into the bucket. If you prefer a brushed effect, use a high-quality ceramic brush. Dip the brush and apply the glaze in smooth, continuous strokes, working from the top down to avoid drips. Avoid overlapping strokes too heavily, as this can cause the glaze to run into a puddle, known as “runout,” which can stick the vase to the kiln shelf. Pouring is another option, where you pour the glaze over the top and let it flow down, rotating the vase to ensure full coverage. Remember that the thickness of the glaze layer is critical. A thin layer may result in a dry, matte appearance, while a thick layer can cause bubbling or cracking. Aim for a consistent, medium thickness throughout the vase.
Firing the Vase
After application, allow the glazed vase to dry completely. This can take anywhere from several hours to a full day, depending on humidity. Once dry, load the kiln carefully. Use kiln wash on the shelves to prevent the glaze from sticking. Ensure the vase is standing upright and stable. Set your kiln to the specific cone temperature required by your glaze. Porcelain typically requires a high-temperature firing, such as Cone 10, which reaches approximately 2345 degrees Fahrenheit. Monitor the firing process closely. During the cool-down phase, do not open the kiln until the temperature drops below 200 degrees Fahrenheit. Opening it too early can cause thermal shock, leading to cracks in the porcelain body or crazing in the glaze. Once cooled, you will have a beautiful, durable, and glossy porcelain vase ready for display.
FAQ
Q: Can I use any glaze on porcelain vases?
A: No, you must use glazes specifically formulated for high-fire porcelain, as standard low-fire glazes will not melt or bond correctly at the high temperatures required for porcelain.
Q: Why did my glaze crack after firing?
A: Cracking, or crazing, often occurs if the glaze and clay bodies have different thermal expansion rates, or if the glaze layer was applied too thick
Leave a Reply